Installing OpenWrt on the ER605 v2 (2.2.5 and Above)
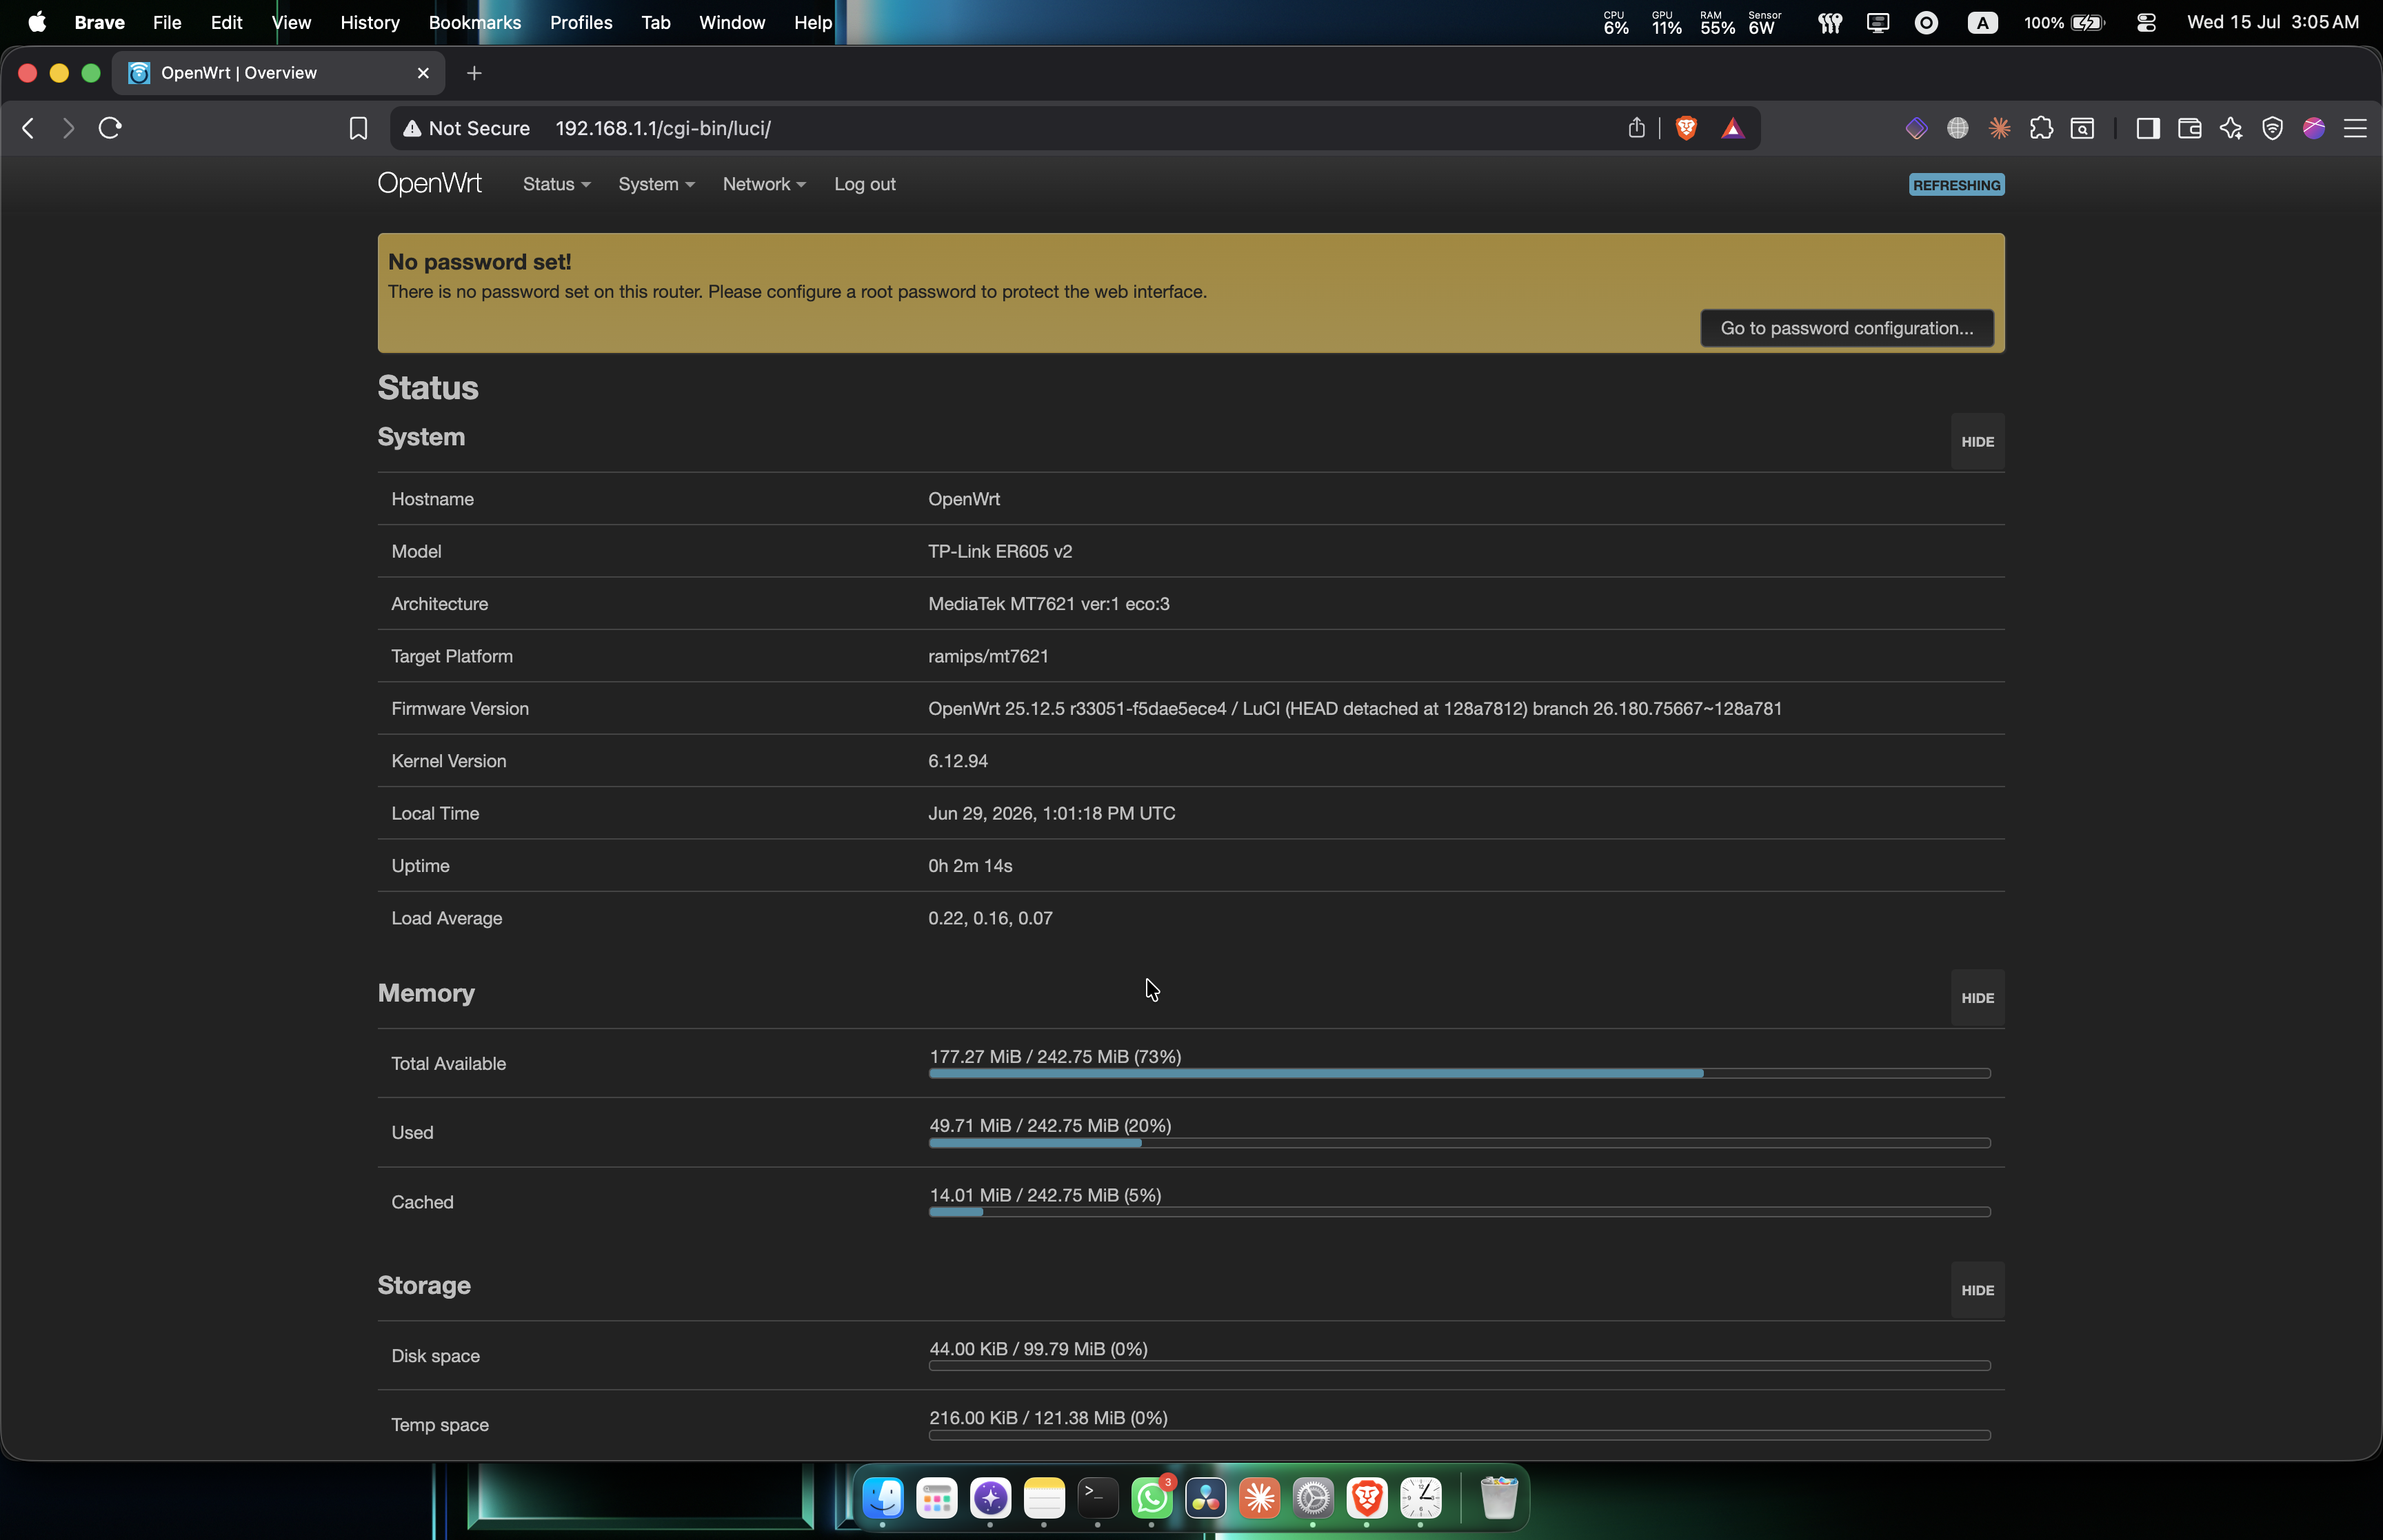
This is a guide for installing OpenWrt on the ER605 v2 when it’s on the newer firmware. The unit I used was an ER605 v2.20 on 2.3.3 Build 20251029.
The newer firmware blocks firmware downgrades, and the OpenWrt install depends on getting the router onto an older version first. So the steps are: roll the firmware back, drop into the stock debug shell over SSH, and write an OpenWrt image straight to flash.
Disclaimer: You can brick your router doing this. I’m not responsible for your device. None of this is my original work, it is built on chill1Penguin’s er605v2_openwrt_install and the downgrade findings from the users in that repo’s issues. If anything here is wrong, open an issue or a pull request at https://github.com/mhd64real/mhd64real.git.
Before you start: the downgrade block
TP-Link marks firmware 2.3.3 (Build 20251029) as irreversible. They changed the signature algorithm to block downgrades, and the release note tells you to contact Omada support if you need to downgrade.
Whether you can get past it comes down to how your router got onto 2.3.3. Based on what people reported in the repo issues:
- If you upgraded the router into 2.3.3 yourself, you can still roll back off it. That was my case, and it’s what this guide covers.
- If the router shipped from the factory already on 2.3.3, the rollback and recovery downgrade wont work, and the only way in is over UART through U-Boot. This guide won’t cover that.
I only tested the upgraded case myself. The factory-2.3.3 findings are from other people in the issues, so if that’s your situation, read the thread before you start.
Roll back off 2.3.3
The web UI won’t downgrade directly, it just soft-locks. The way around it is a recovery-mode double flash followed by a rollback, from yesrab’s method in the repo issues.
You’ll need the ER605(UN)_V2.20_2.3.0 Build 20250428 firmware for it. It’s on TP-Link’s download page, and I mirrored it here in case they pull it:
 ER605(UN)_V2.20_2.3.0 Build 20250428.zip
Unzip it, the .bin inside is what you flash.
Entering emergency recovery mode
- Unplug the power cable from the ER605.
- Connect an Ethernet cable from your computer straight into a LAN port on the router.
- Set your computer to a static IP in
192.168.0.x(for example192.168.0.100), subnet255.255.255.0. - Press and hold the RESET button.
- Plug the power back in while still holding reset.
- When the port LEDs light up, release the reset button.
Flashing and rolling back
- Open a browser and go to the recovery page at
http://192.168.0.10. - Click Browse, pick the
.binfirmware file, and click Upgrade. Wait for it to flash and reboot on its own. It comes back looking like nothing changed. That’s expected, don’t panic. - Do that exact recovery flash a second time. Again it looks like nothing happened.
- Now, in the normal web UI, press Rollback. The web UI breaks right after this. Also expected.
- Hold the reset button to factory reset one more time, then run the setup wizard.
After the wizard, check the firmware version. It drops to the image you flashed, 2.3.0 Build 20250428 in my case, which is old enough for the debug shell.
Set an admin password during the wizard and note the router’s IP. Mine was 192.168.0.1.
Find the MAC and generate the debug password
The stock debug shell is behind a password derived from the router’s MAC address. Get the MAC first:
arp -n 192.168.0.1
? (192.168.0.1) at AA:BB:CC:DD:EE:FF on en7 ifscope [ethernet]
Put that MAC into the ER605 v2 Root Password Generator. Enter the MAC and the GUI username (admin), and it returns the root password and the CLI debug password.
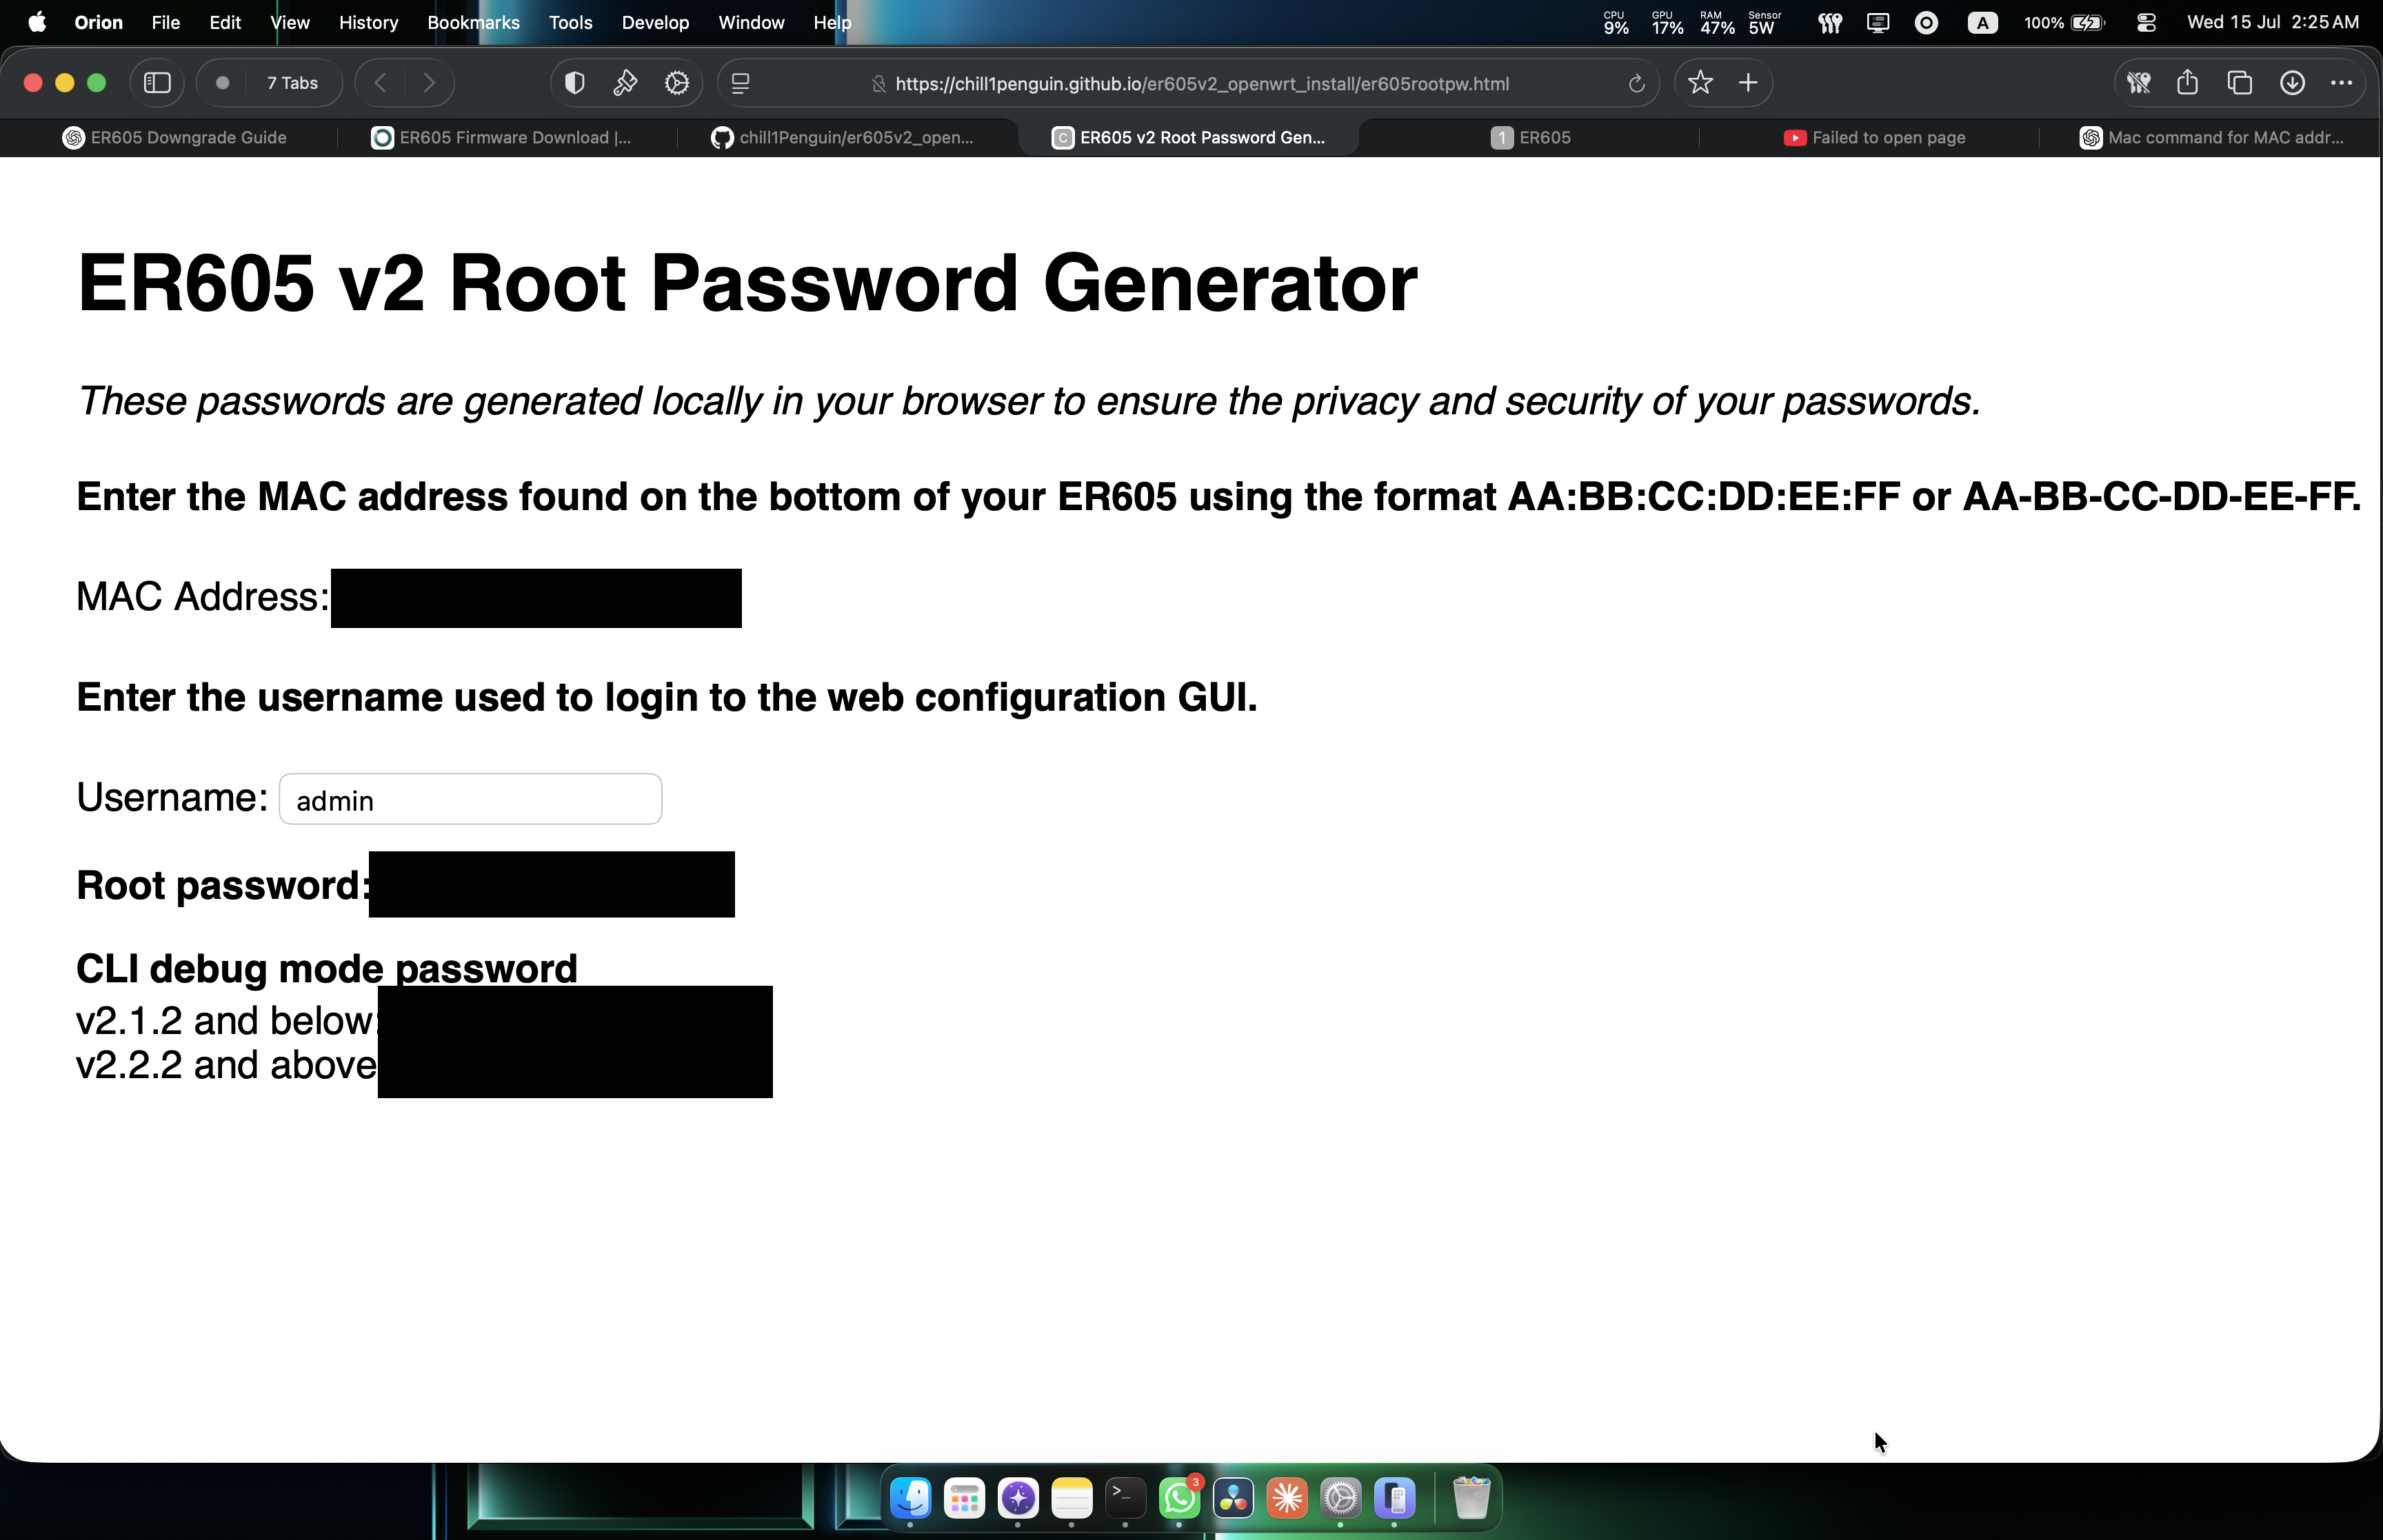
It gives two CLI debug passwords: one for v2.1.2 and below, one for v2.2.2 and above. You’re on 2.3.x here, so use the v2.2.2 and above one.
Open the debug shell over SSH
A plain SSH connection is refused:
ssh 192.168.0.1
Unable to negotiate with 192.168.0.1 port 22: no matching host key type found. Their offer: ssh-rsa
The router only offers the old ssh-rsa host key algorithm, which recent OpenSSH disables by default. Enable it for this connection:
ssh \
  -o HostKeyAlgorithms=+ssh-rsa \
  -o PubkeyAcceptedAlgorithms=+ssh-rsa \
  admin@192.168.0.1
The authenticity of host '192.168.0.1 (192.168.0.1)' can't be established.
RSA key fingerprint is: SHA256:kaU3nwYwiTBa96di4KtEkE66ThJLAXhK9ZxyQt7wZnw
This key is not known by any other names.
Are you sure you want to continue connecting (yes/no/[fingerprint])? yes
Warning: Permanently added '192.168.0.1' (RSA) to the list of known hosts.
admin@192.168.0.1's password:

>
The password at that prompt is your normal GUI admin password. That puts you at the TP-Link CLI. Run enable, then debug, and enter the CLI debug password (the v2.2.2 and above one). If you use the wrong one it says the password is wrong. The correct one drops you into a shell:
>enable

#debug
Enter your password:
Password is wrong

#debug
Enter your password:

BusyBox v1.22.1 (2024-05-22 18:49:25 CST) built-in shell (ash)
Enter 'help' for a list of built-in commands.

  _______                     ________        __
 |       |.-----.-----.-----.|  |  |  |.----.|  |_
 |   -   ||  _  |  -__|     ||  |  |  ||   _||   _|
 |_______||   __|_____|__|__||________||__|  |____|
          |__| W I R E L E S S   F R E E D O M
 -----------------------------------------------------
 BARRIER BREAKER (Barrier Breaker, unknown)
 -----------------------------------------------------
  * 1/2 oz Galliano         Pour all ingredients into
  * 4 oz cold Coffee        an irish coffee mug filled
  * 1 1/2 oz Dark Rum       with crushed ice. Stir.
  * 2 tsp. Creme de Cacao
 -----------------------------------------------------
root@ER605:/#
The stock firmware is built on an old OpenWrt (Barrier Breaker), and this is its root shell.
Write the OpenWrt initramfs to flash
You need two files on the router: chill1Penguin’s write script and the OpenWrt initramfs image. The router shell has curl but no easy internet access at this point, so serve the files from your Mac.
In a terminal tab on your machine, download both files and serve them over a small netcat HTTP server:
curl -o er605v2_write_initramfs.sh https://raw.githubusercontent.com/chill1Penguin/er605v2_openwrt_install/main/er605v2_write_initramfs.sh
curl -o openwrt-initramfs-compact.bin https://raw.githubusercontent.com/chill1Penguin/er605v2_openwrt_install/main/openwrt-initramfs-compact.bin
for i in er605v2_write_initramfs.sh openwrt-initramfs-compact.bin; do
    {
        printf "HTTP/1.0 200 OK\r\nContent-Length: %s\r\n\r\n" "$(wc -c < "$i")"
        cat "$i"
    } | nc -l 8080
done
The macOS nc uses nc -l 8080, not nc -l -p 8080. The loop serves each file once.
Back in the router’s root shell, pull both files from your Mac (192.168.0.100 here), check the image, and run the write script:
cd /tmp
curl -o er605v2_write_initramfs.sh http://192.168.0.100:8080/er605v2_write_initramfs.sh
curl -o openwrt-initramfs-compact.bin http://192.168.0.100:8080/openwrt-initramfs-compact.bin
chmod +x er605v2_write_initramfs.sh

md5sum openwrt-initramfs-compact.bin

./er605v2_write_initramfs.sh openwrt-initramfs-compact.bin
Then reboot.
The OpenWrt installer page
Set your computer back to DHCP, plug into the router, and open http://192.168.1.1. You now get a small OpenWrt installer page instead of the TP-Link one.
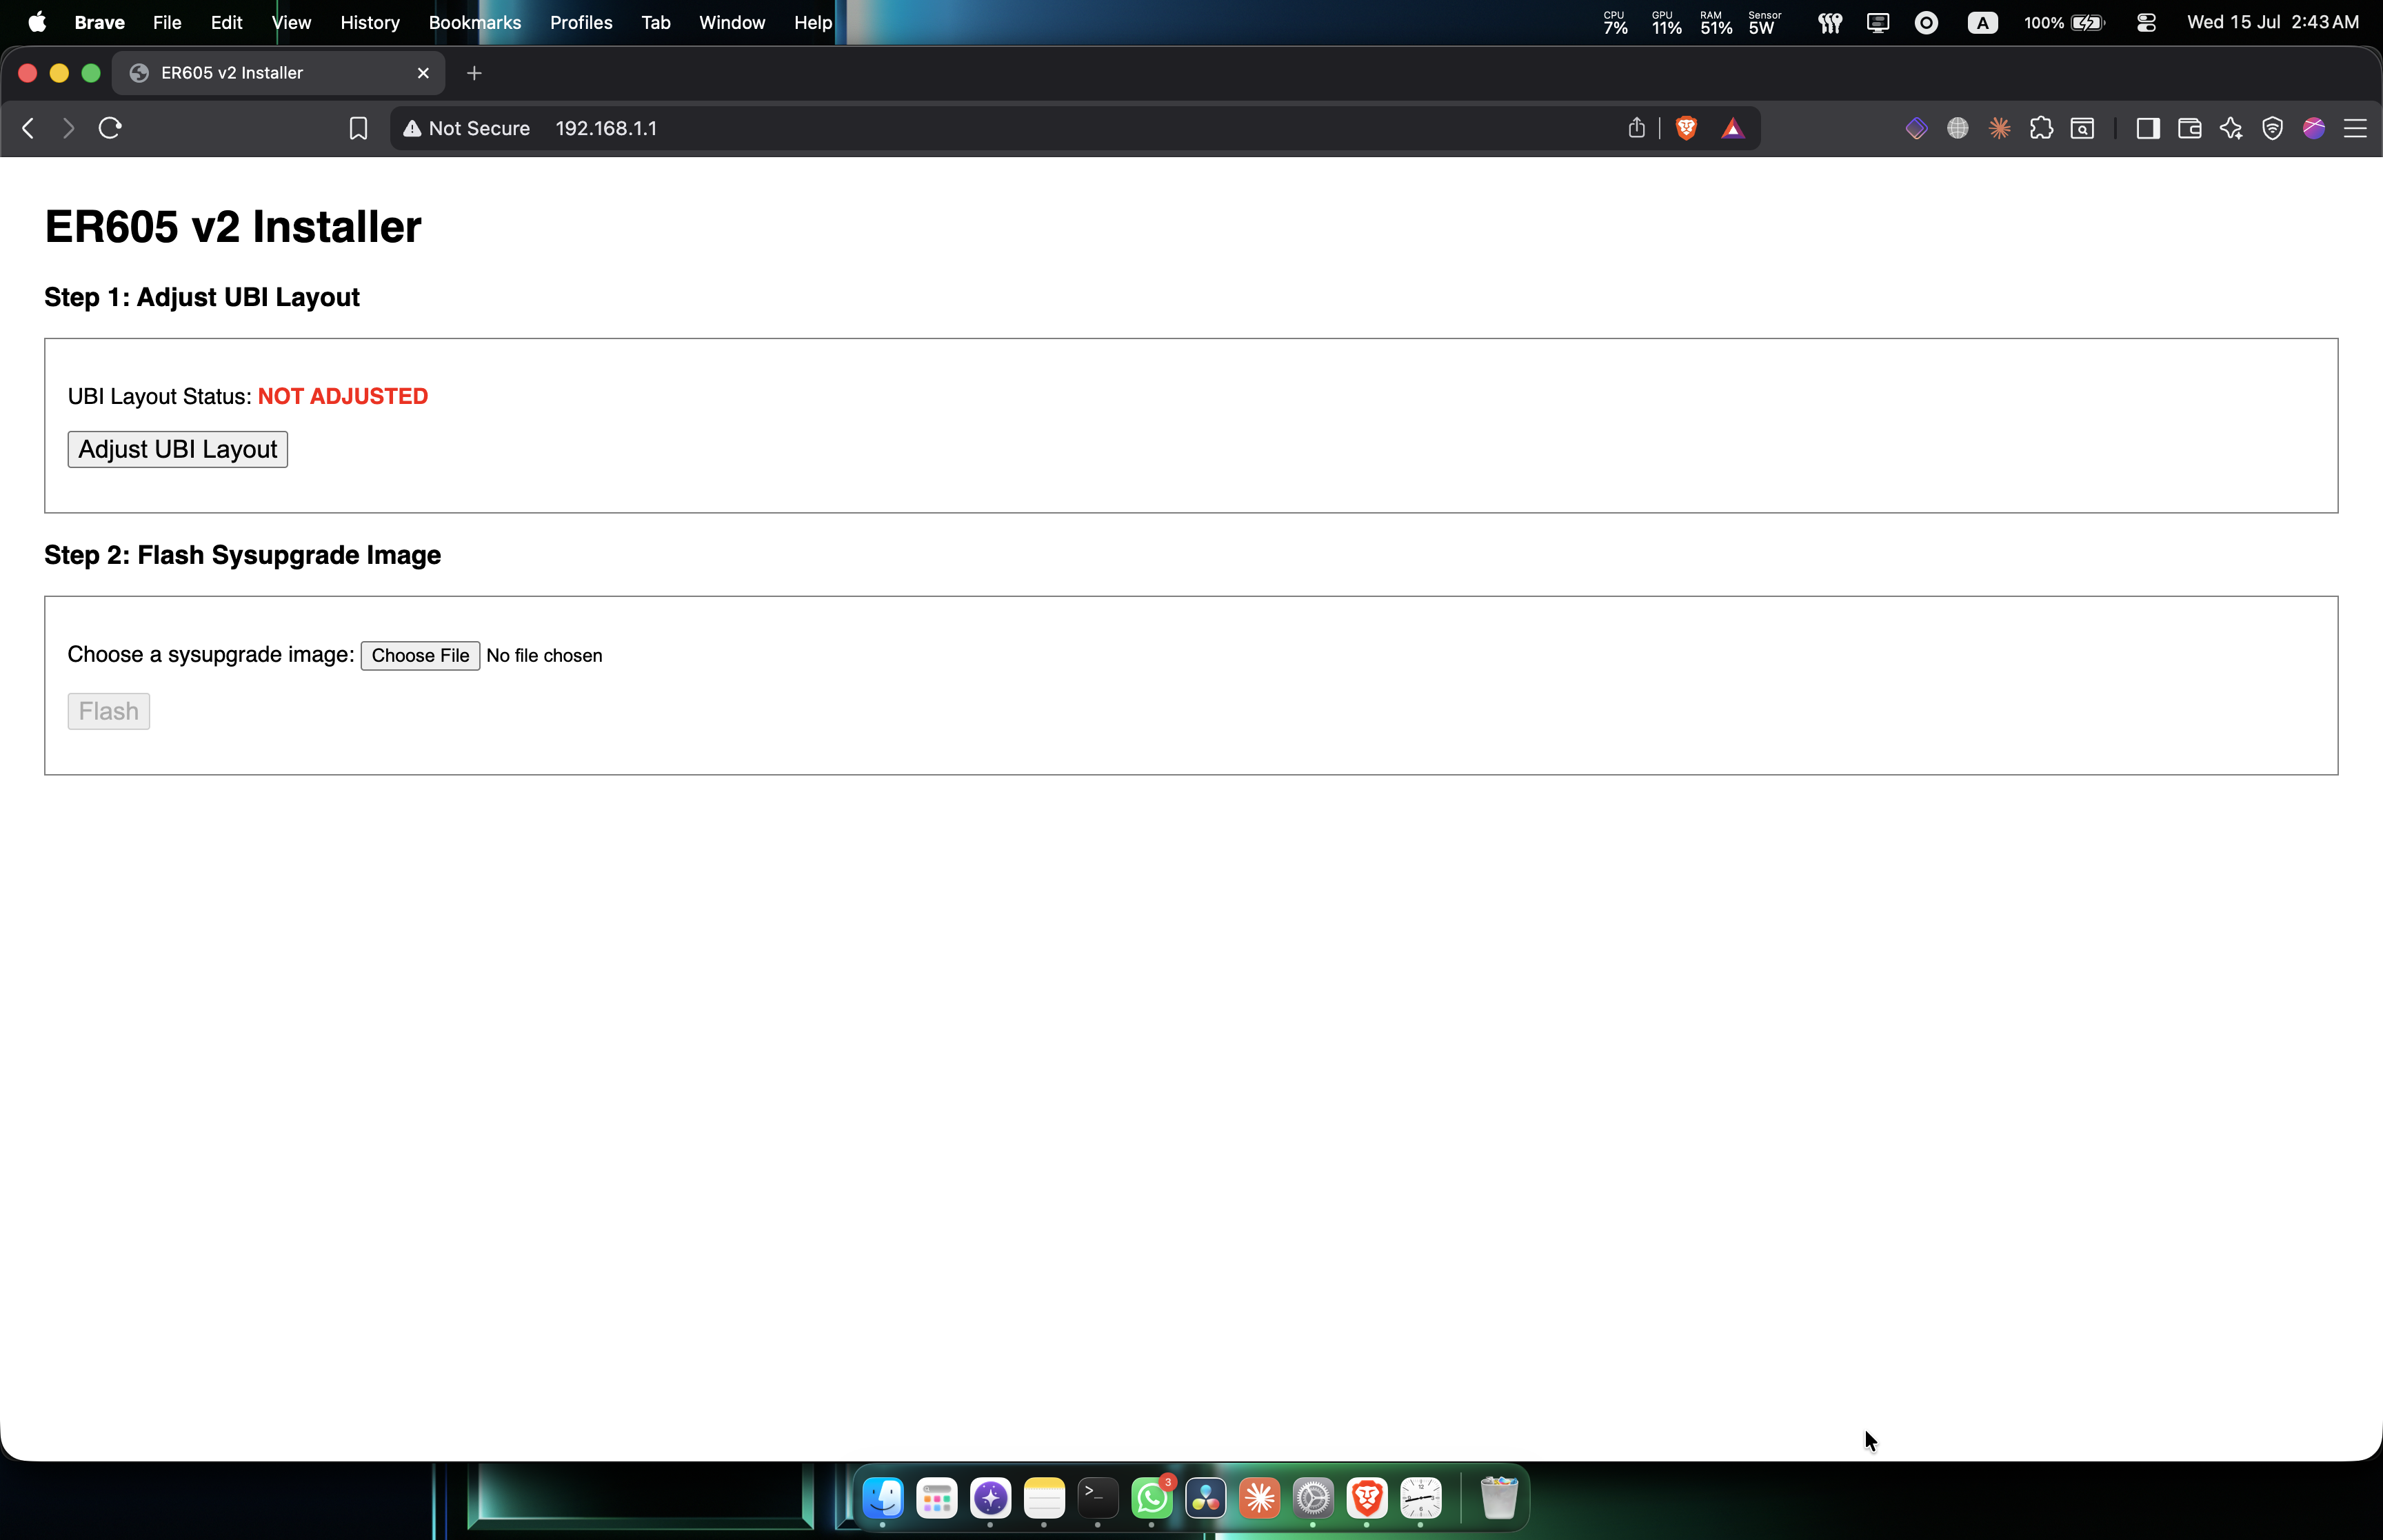
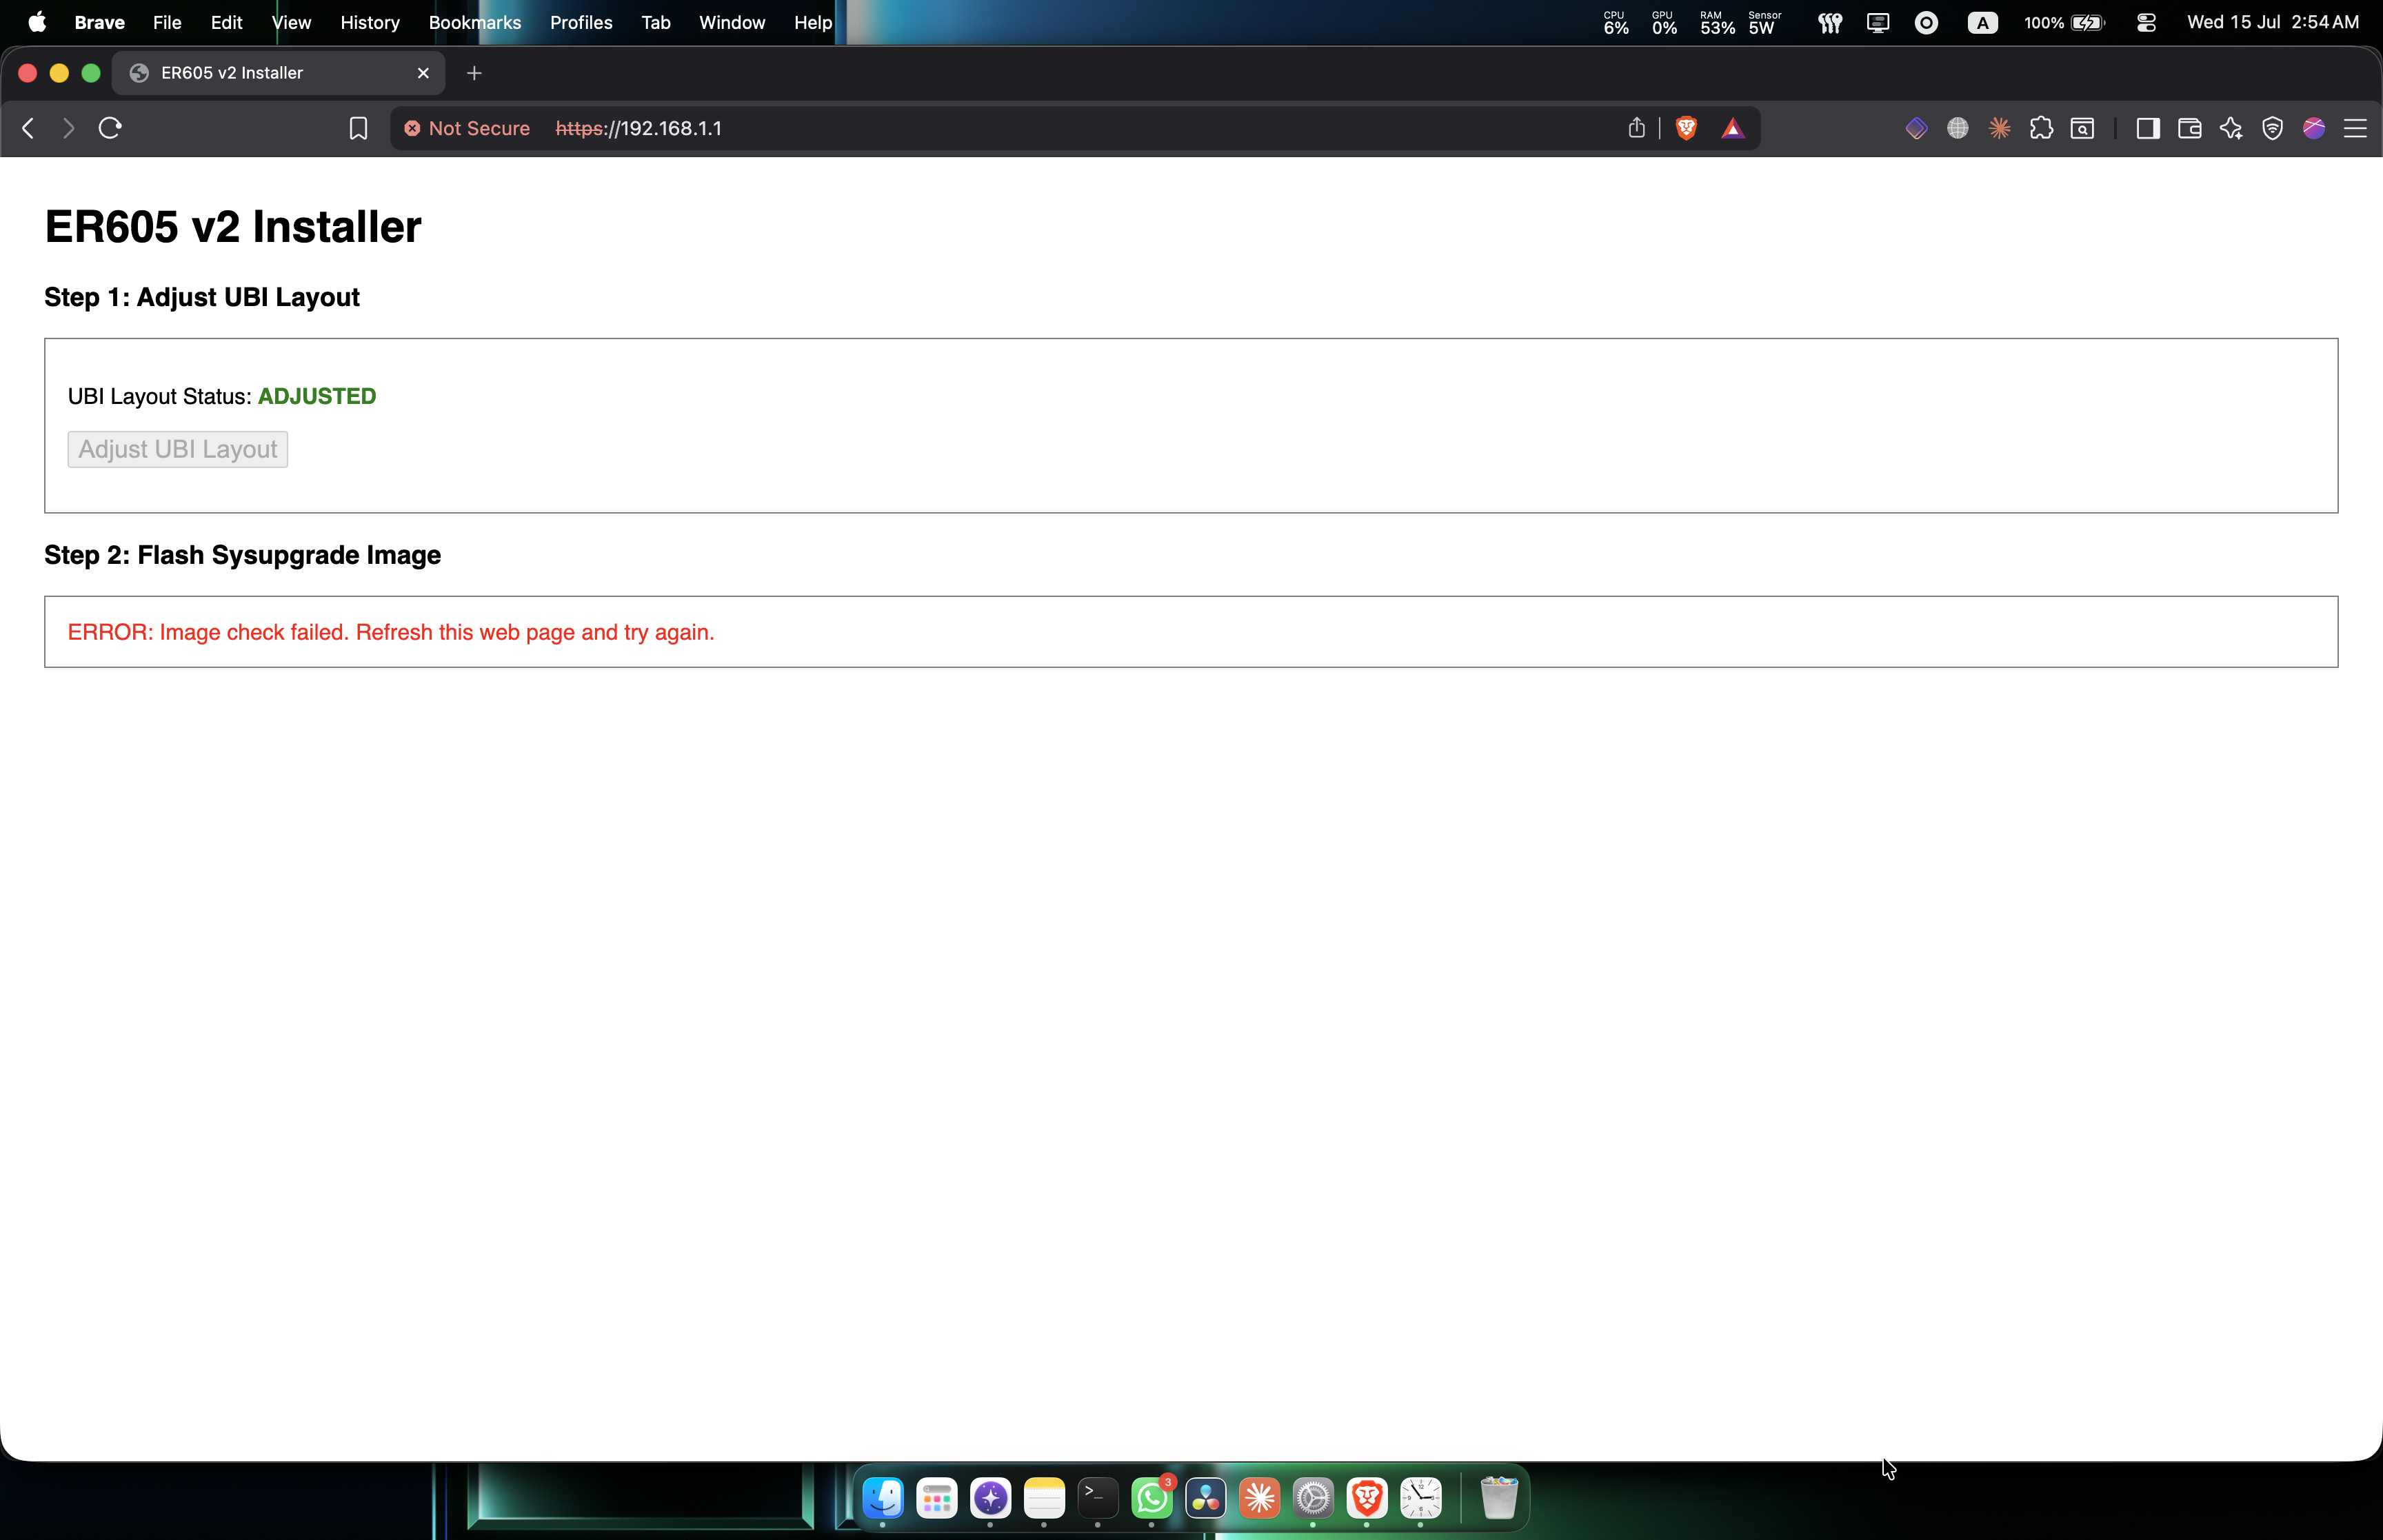
Click Adjust UBI Layout and wait. It changes to ADJUSTED and unlocks the flash step.
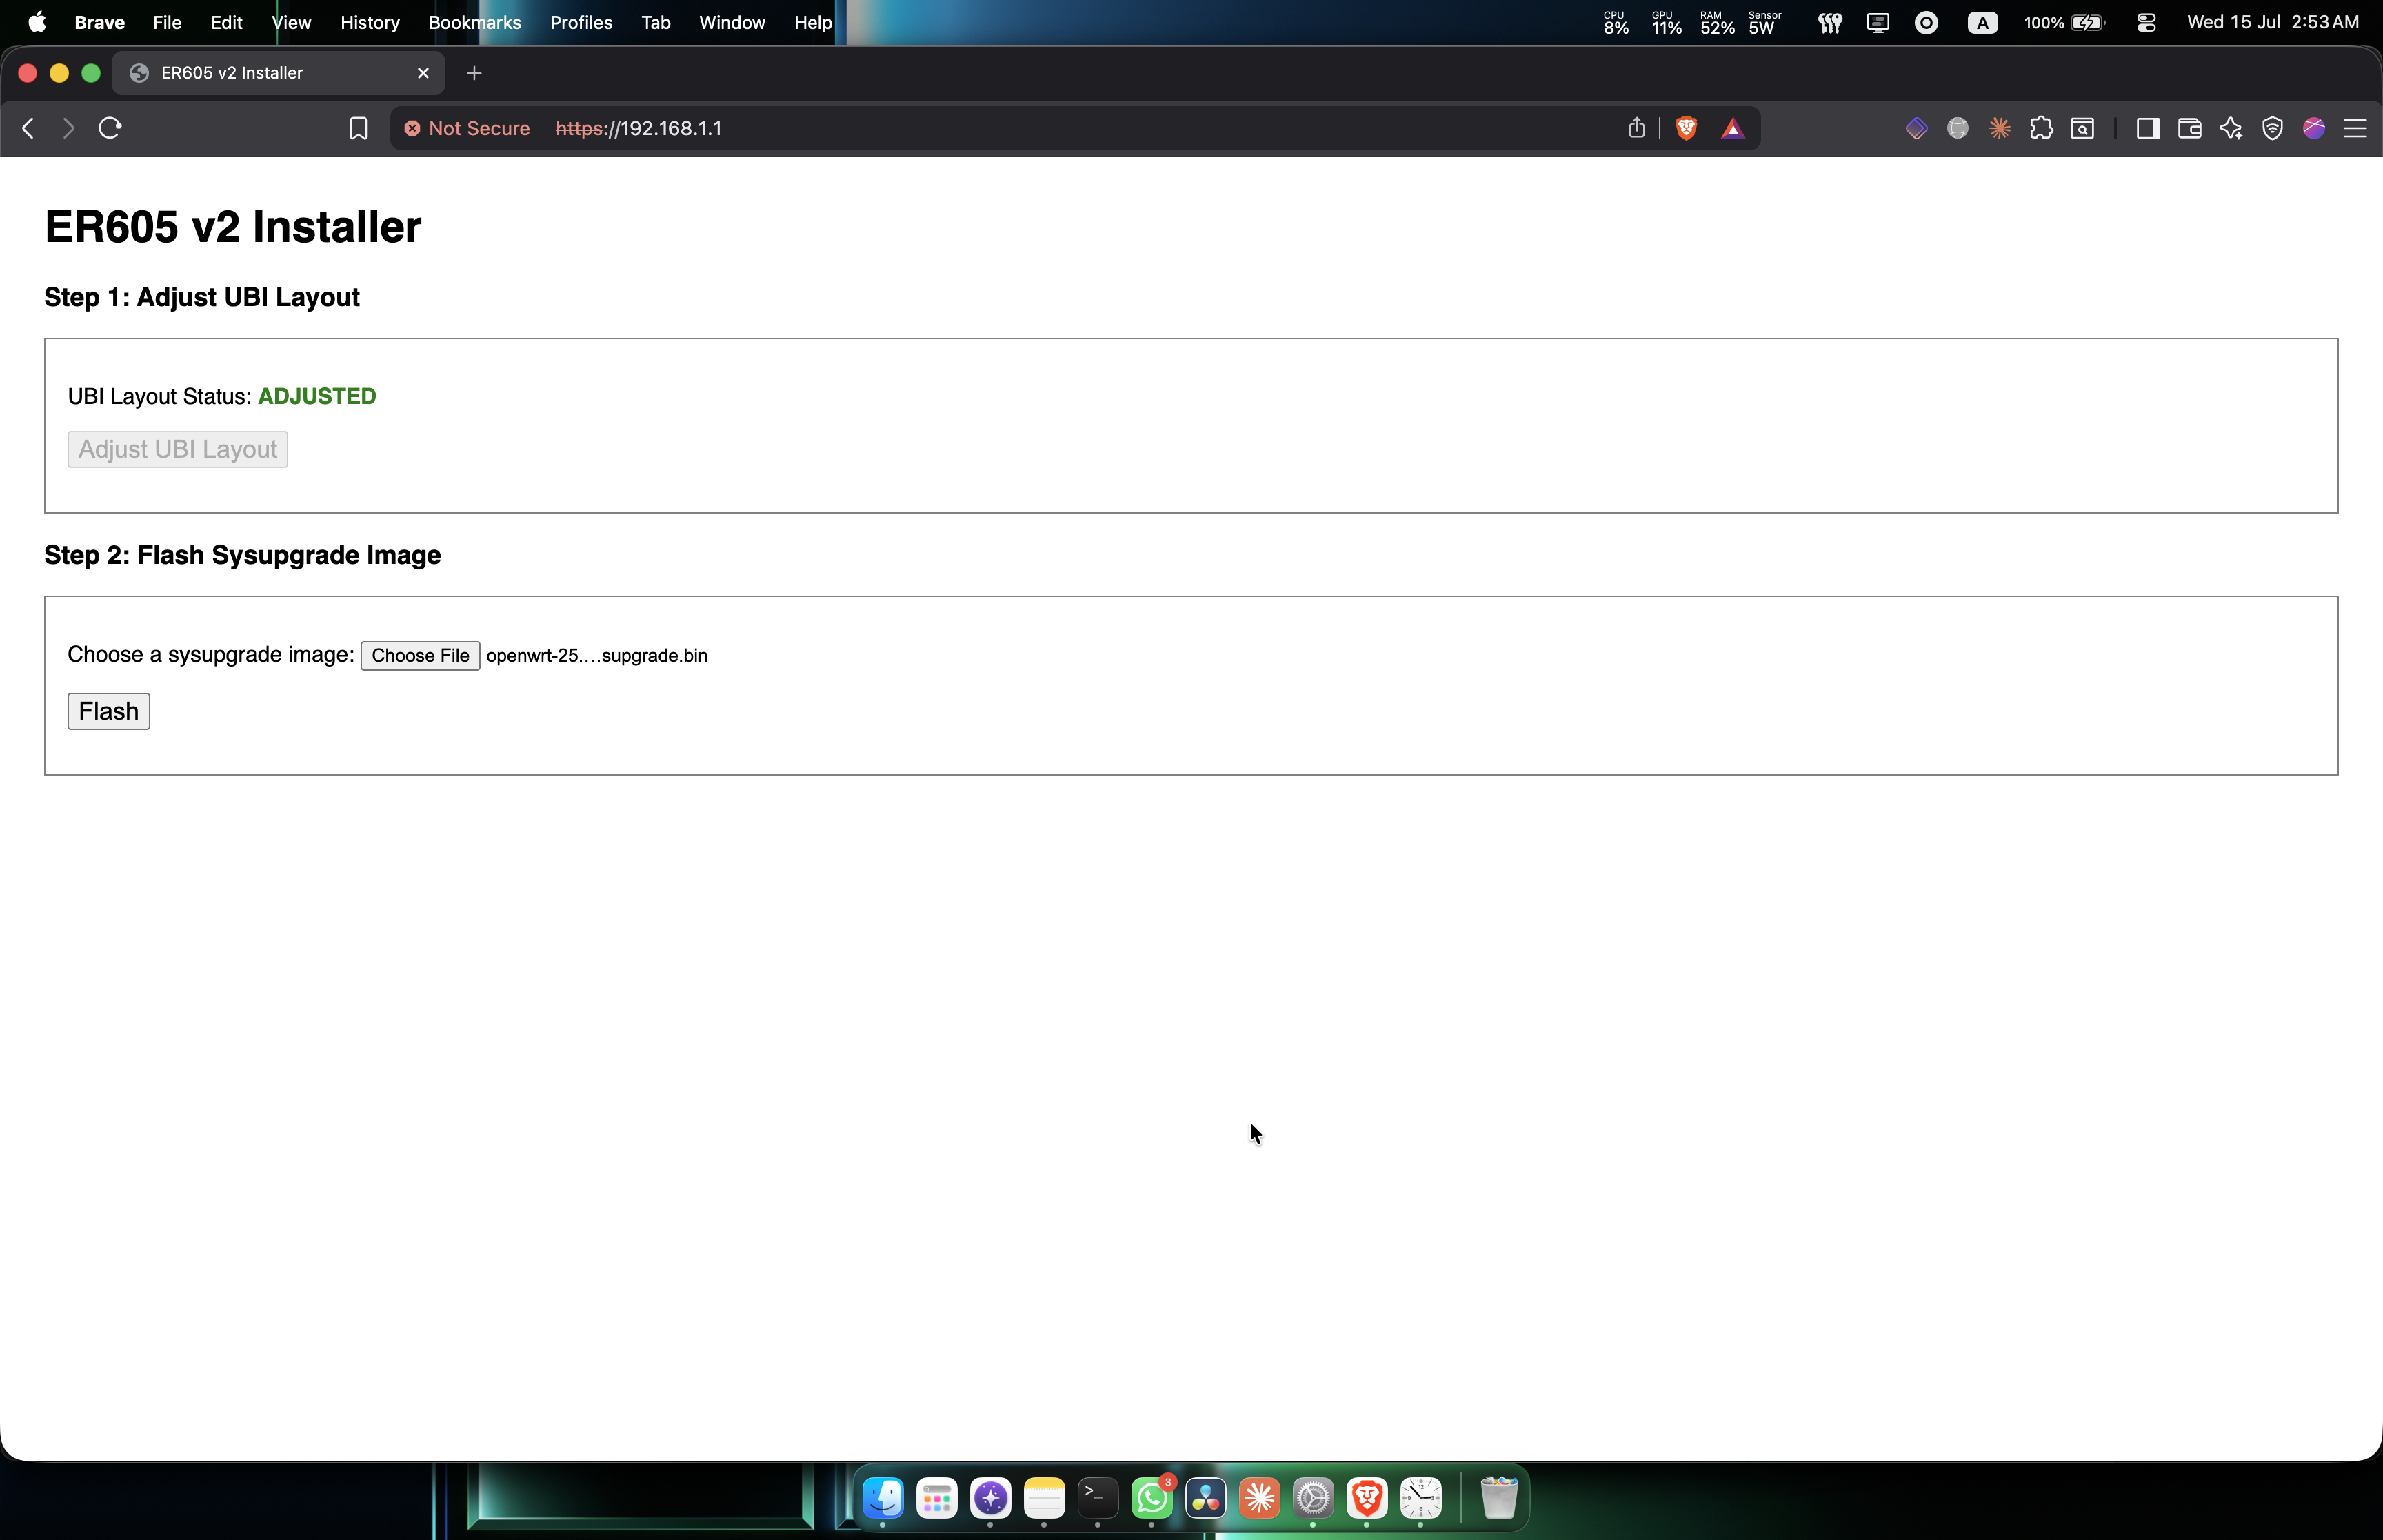
Flash OpenWrt
Get an image from downloads.openwrt.org: open the latest stable release, go to ramips/mt7621, and search for er605. You want the squashfs sysupgrade file.
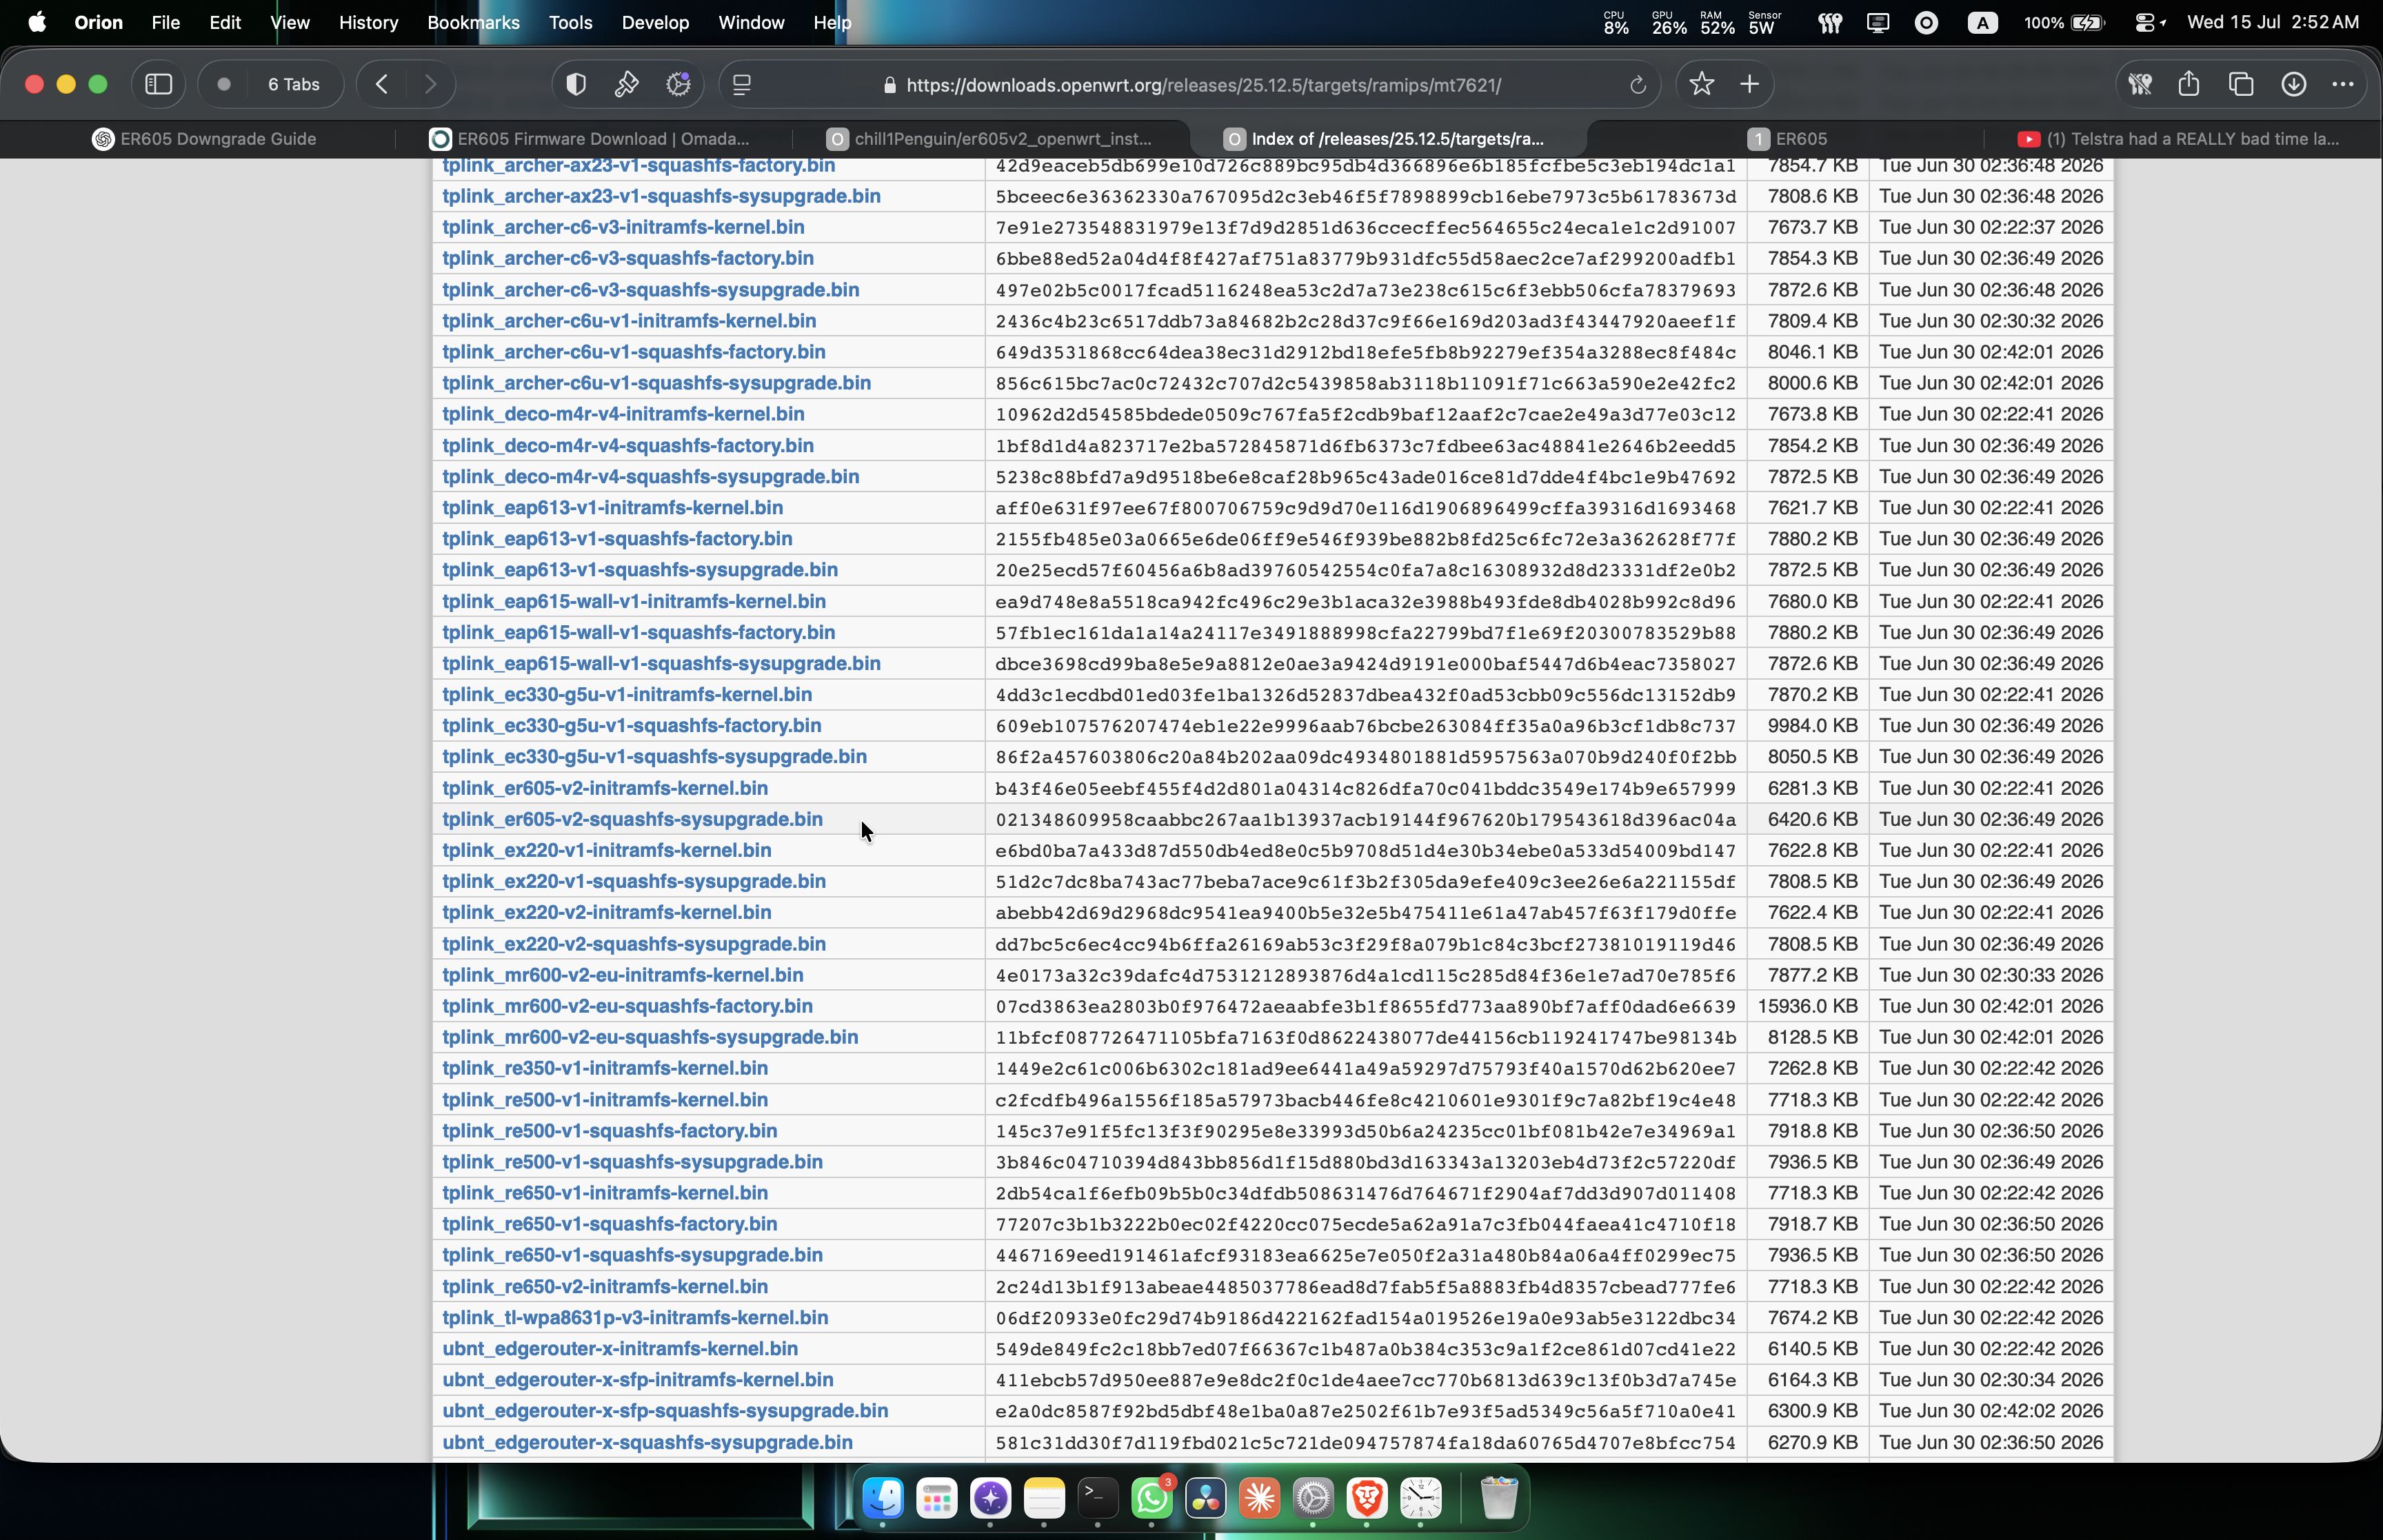
The latest image failed the installer’s image check for me:
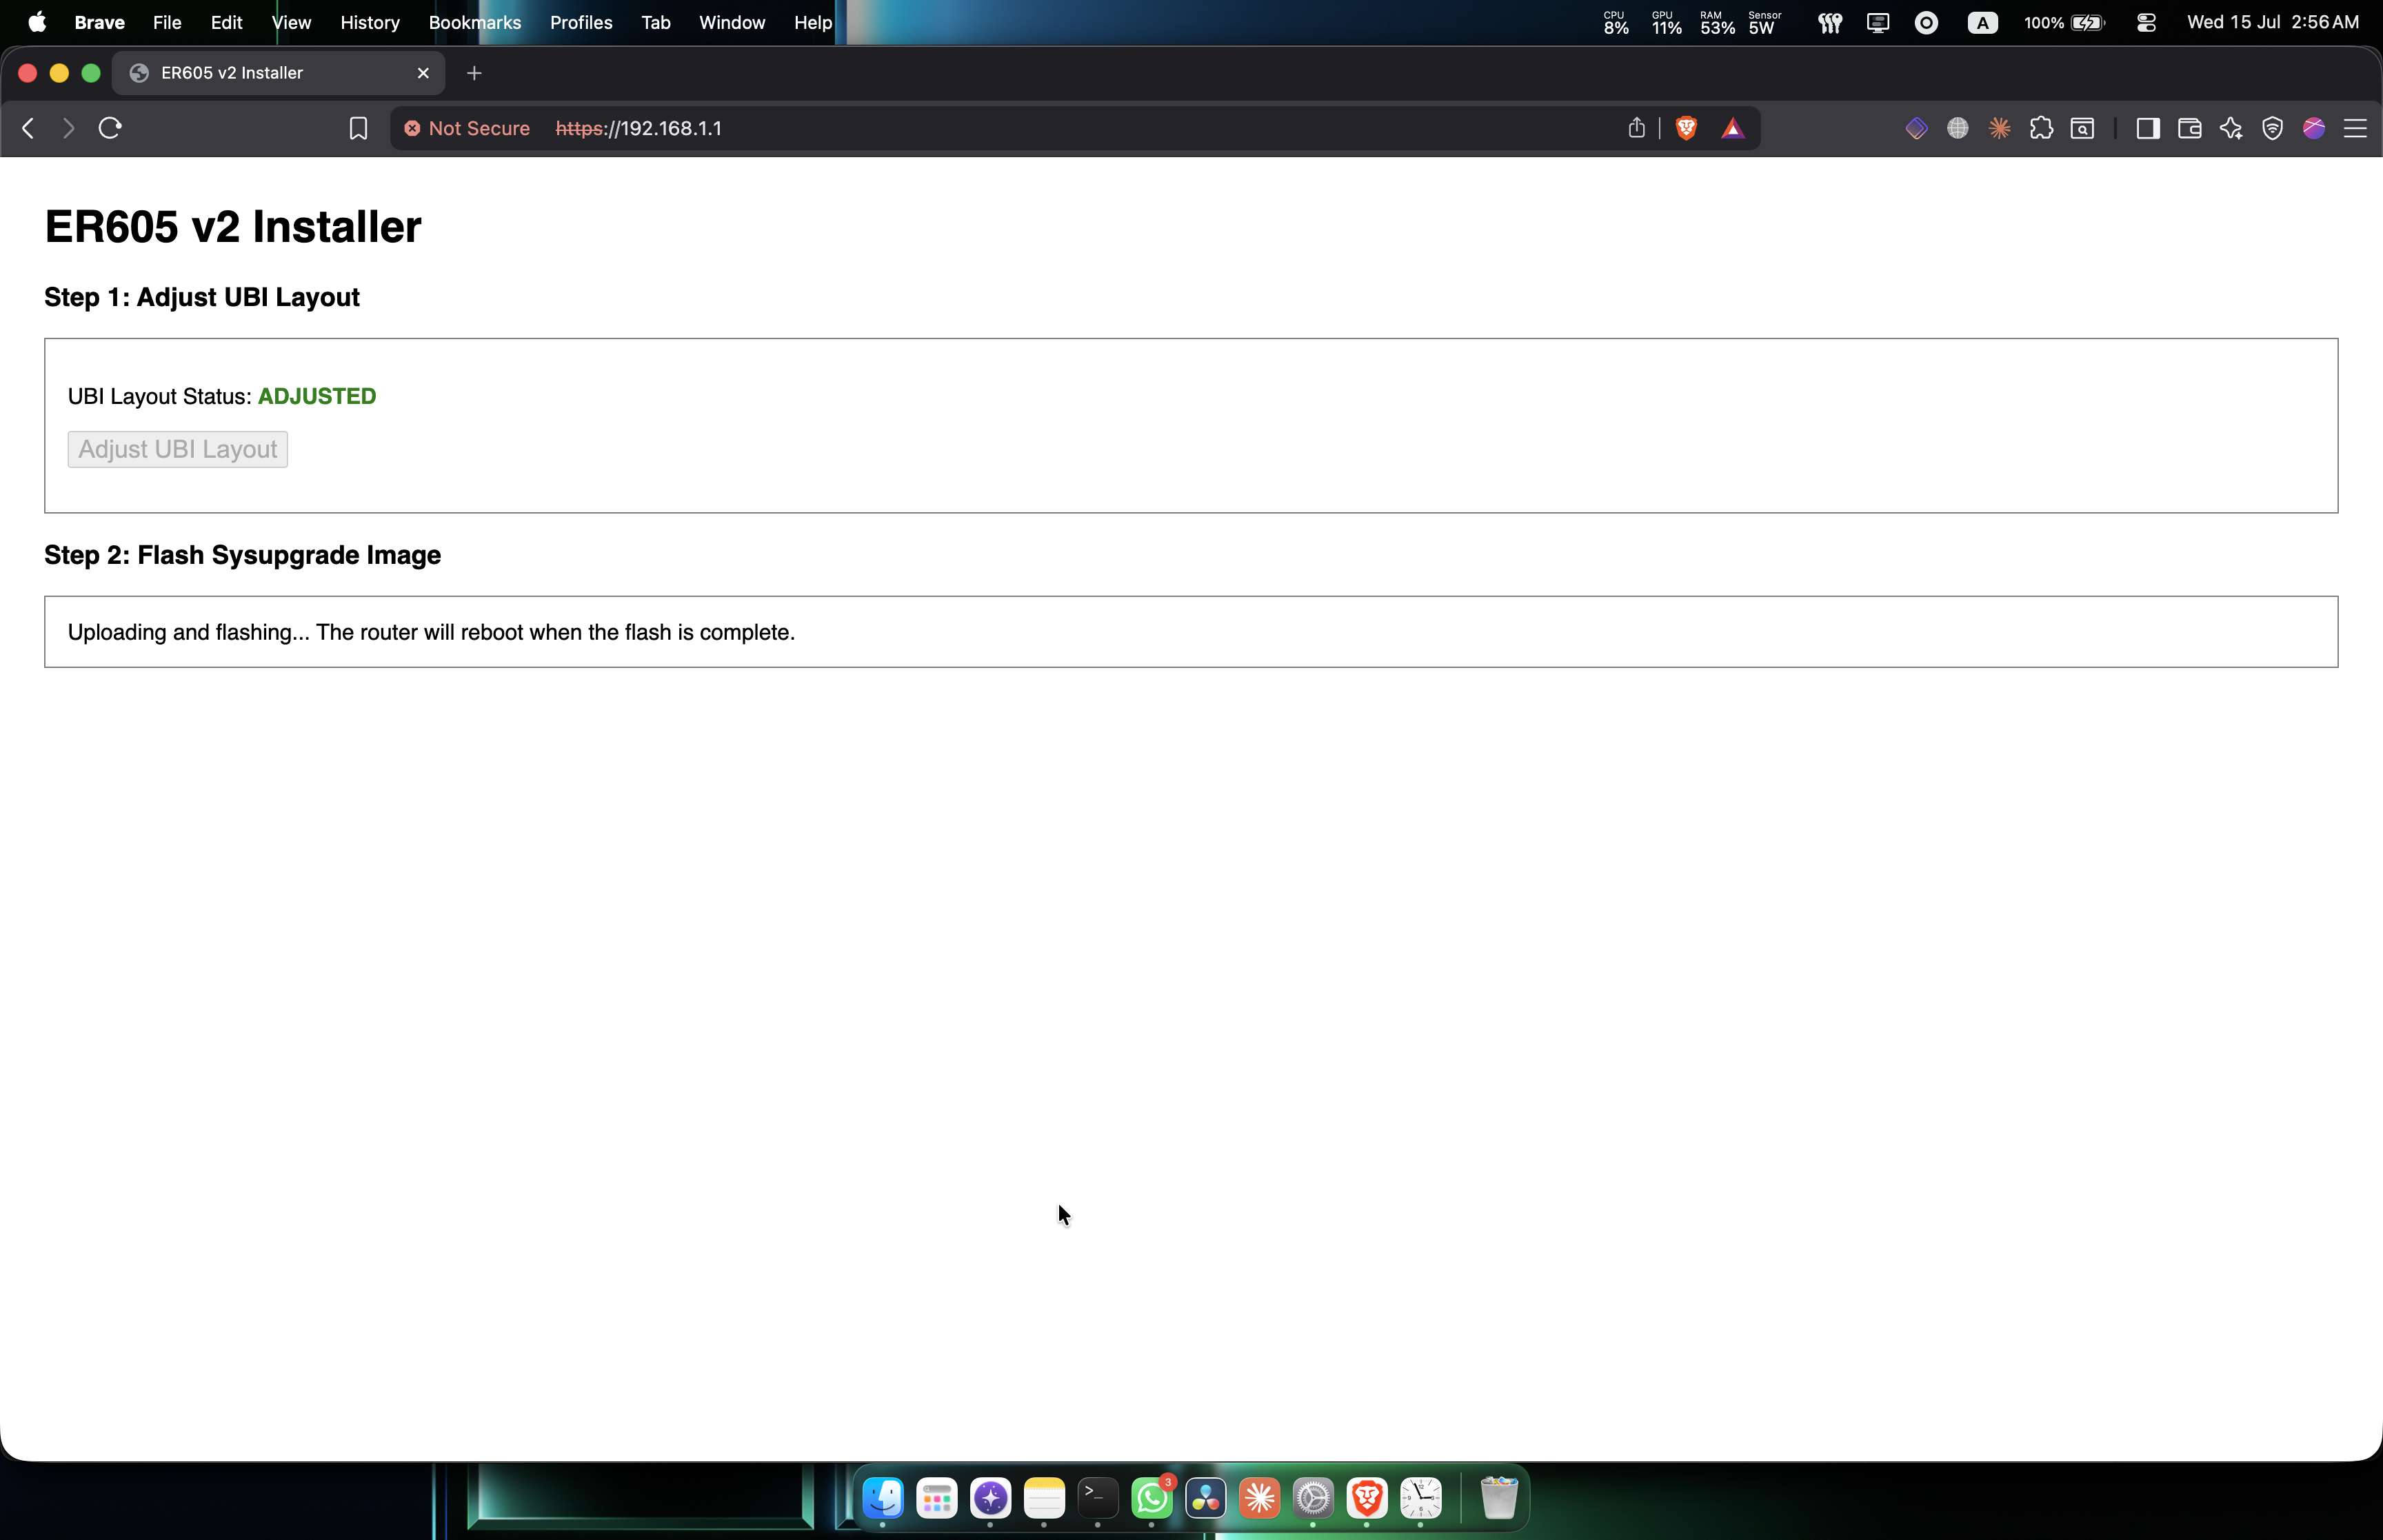
The 23.05.0 image worked instead:
openwrt-23.05.0-ramips-mt7621-tplink_er605-v2-squashfs-sysupgrade.bin
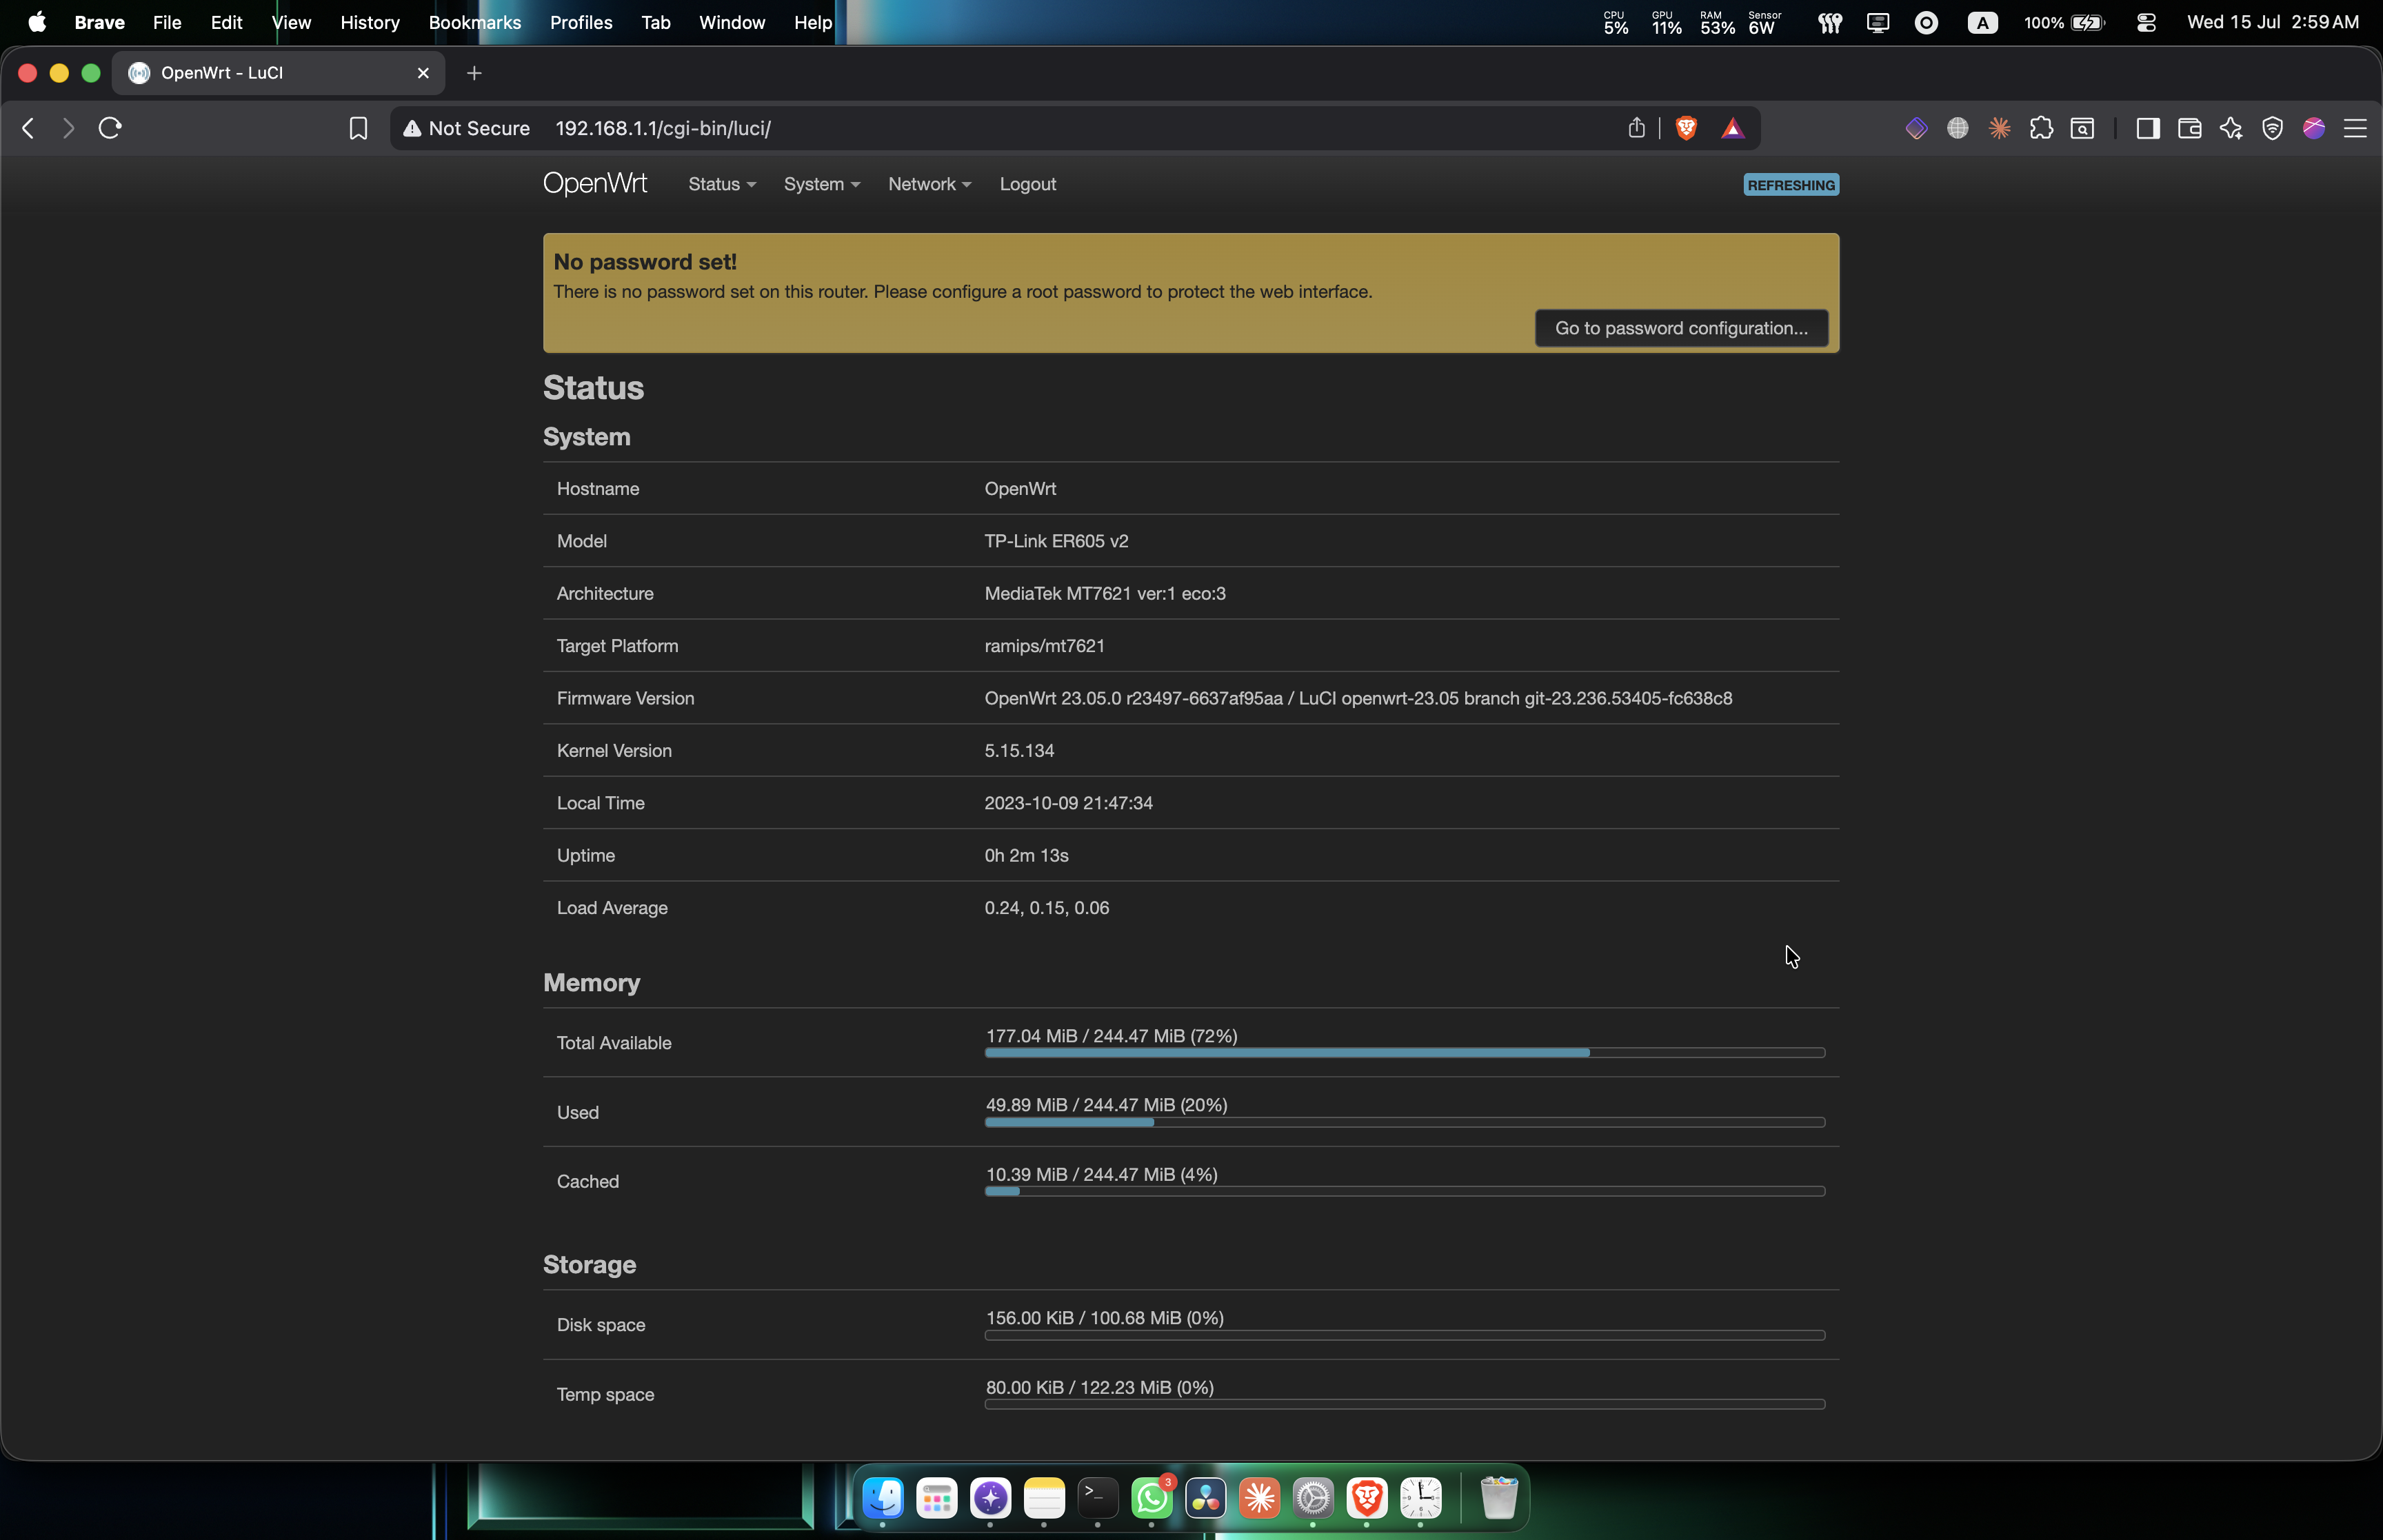
When the power light and system light are both on, open 192.168.1.1 again. It’s OpenWrt now.
Upgrade to the current release
23.05.0 is old, so upgrade to the current release. Download the latest squashfs sysupgrade, then in LuCI go to System, Backup / Flash Firmware, Flash new firmware image.
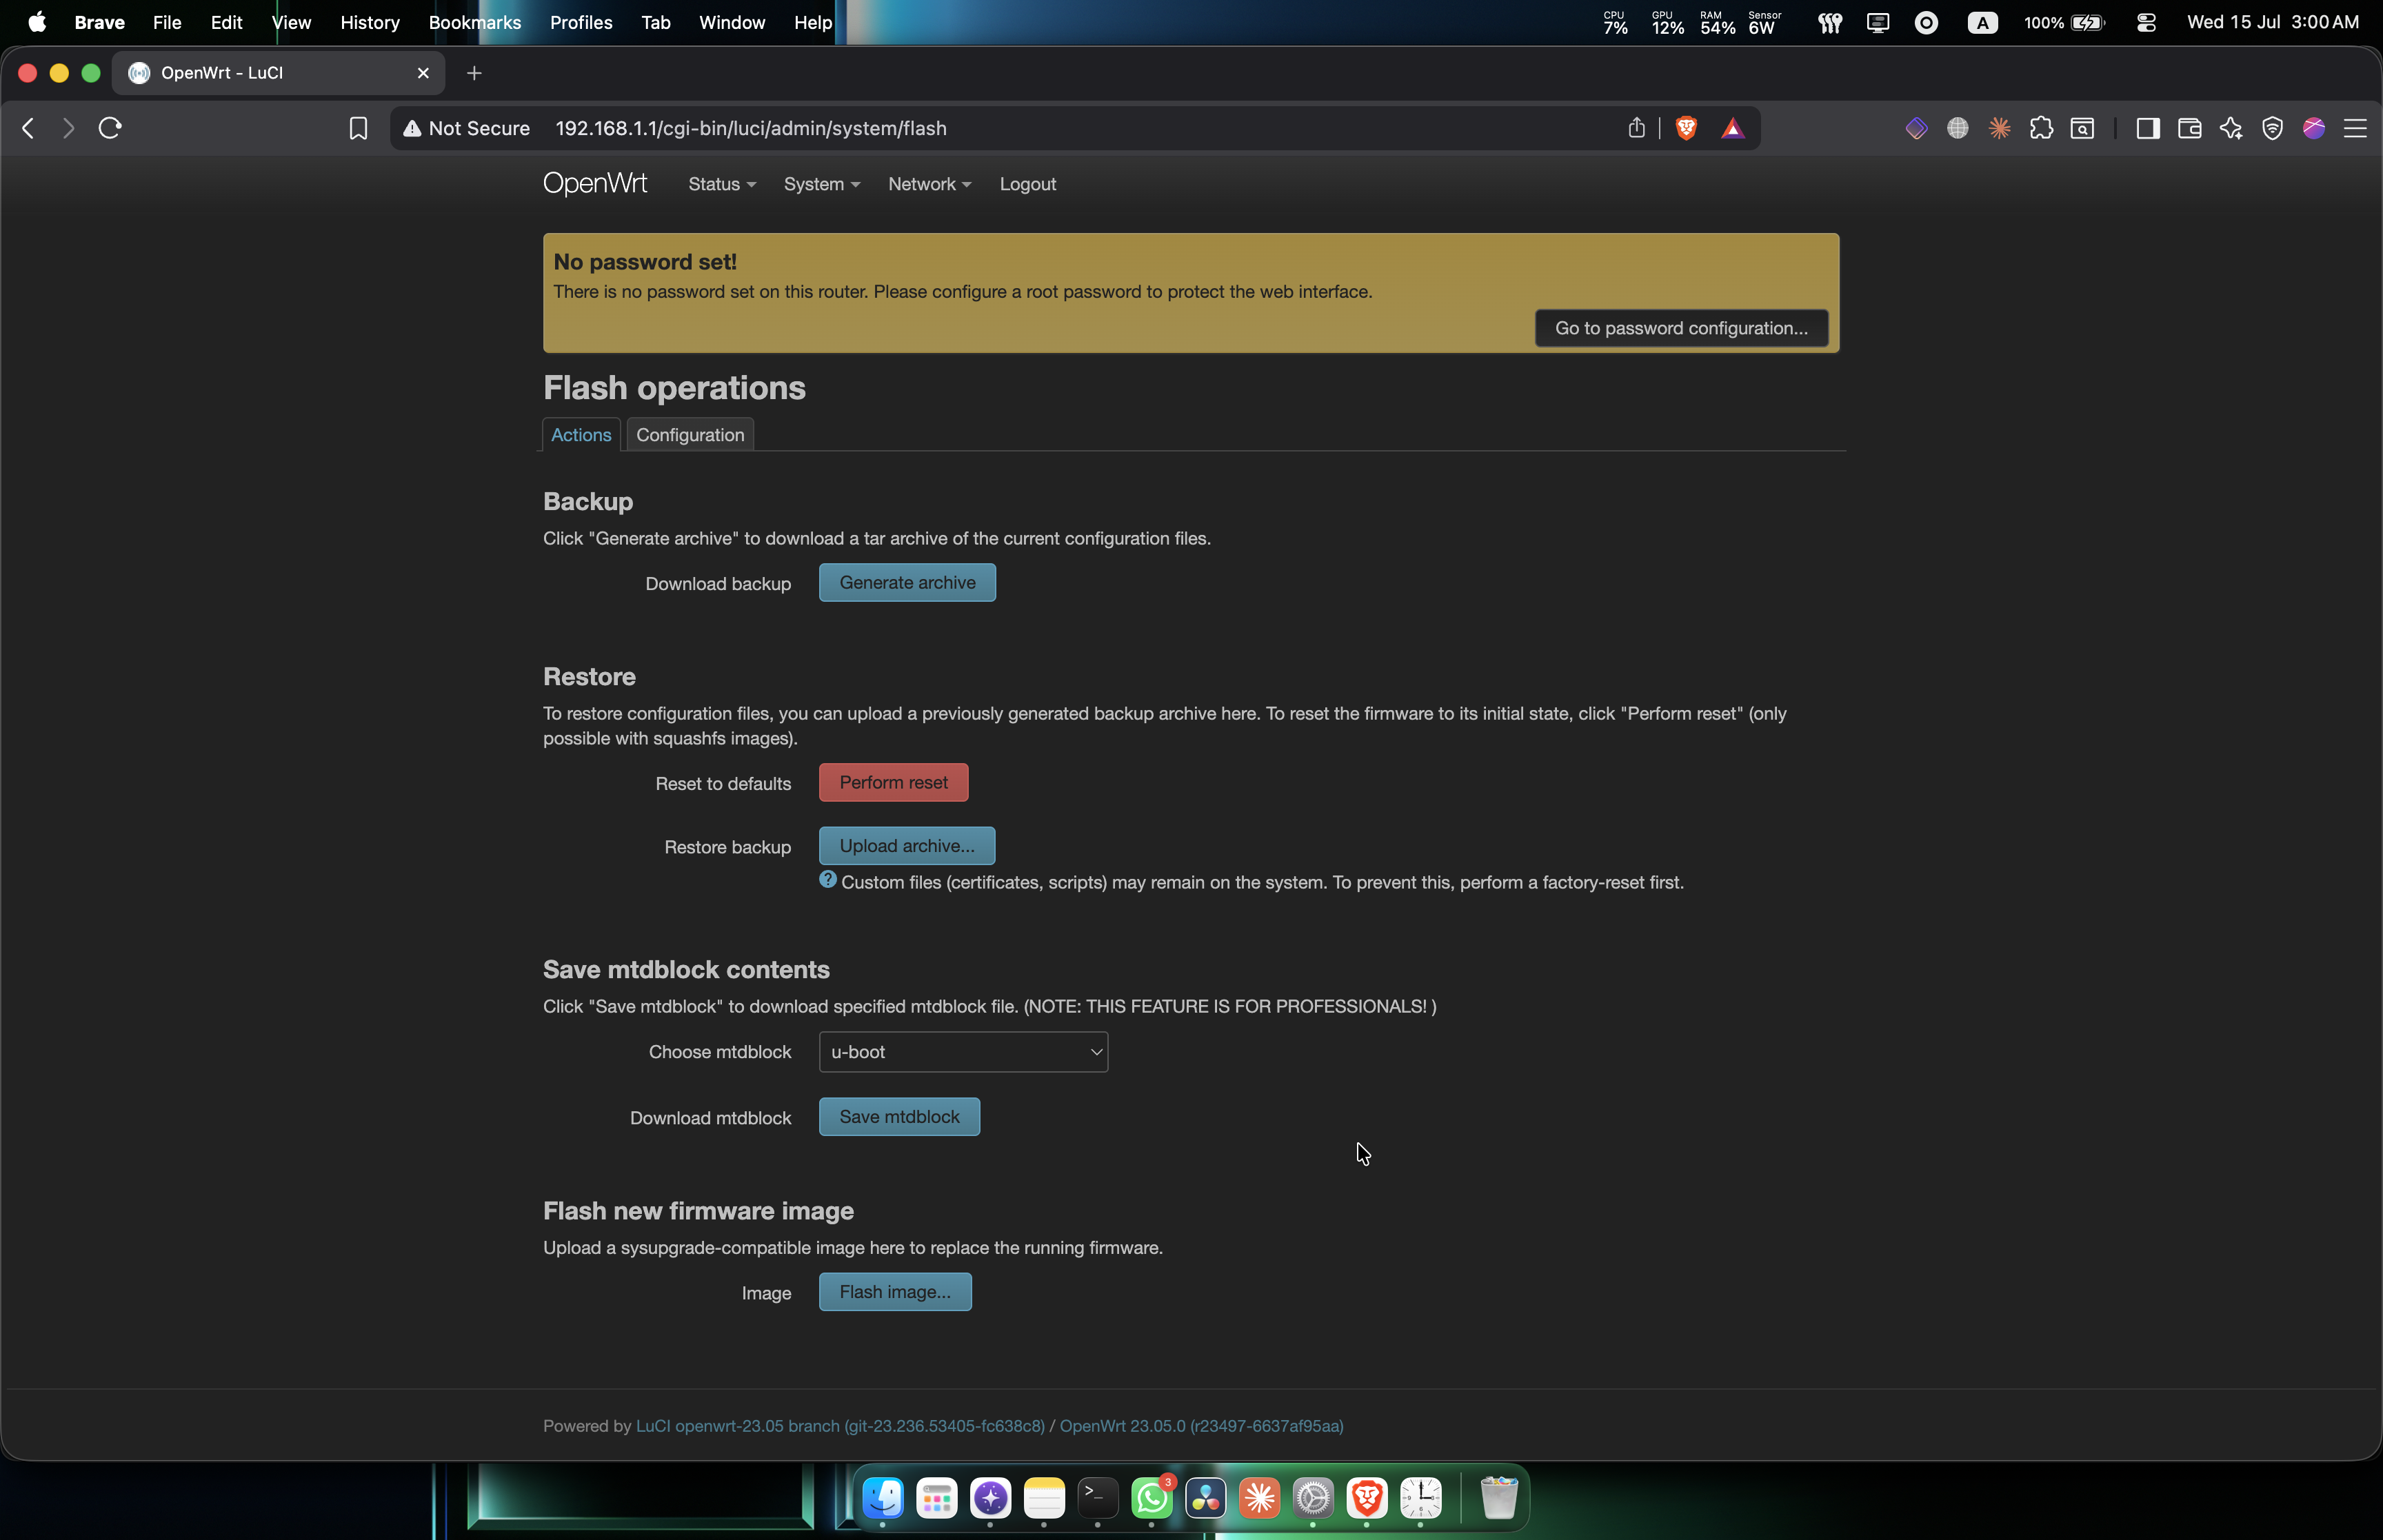
The image check fails here too, but for an expected reason: the config format changed between the releases and the interface names moved, so it can’t migrate settings.
The device is supported, but the config is incompatible to the new image (1.1->1.2).
Please upgrade without keeping config (sysupgrade -n).
Config cannot be migrated because interface names have changed.
Image check failed.
There’s nothing to migrate on a fresh install, so untick keep settings, tick Force upgrade, and continue.
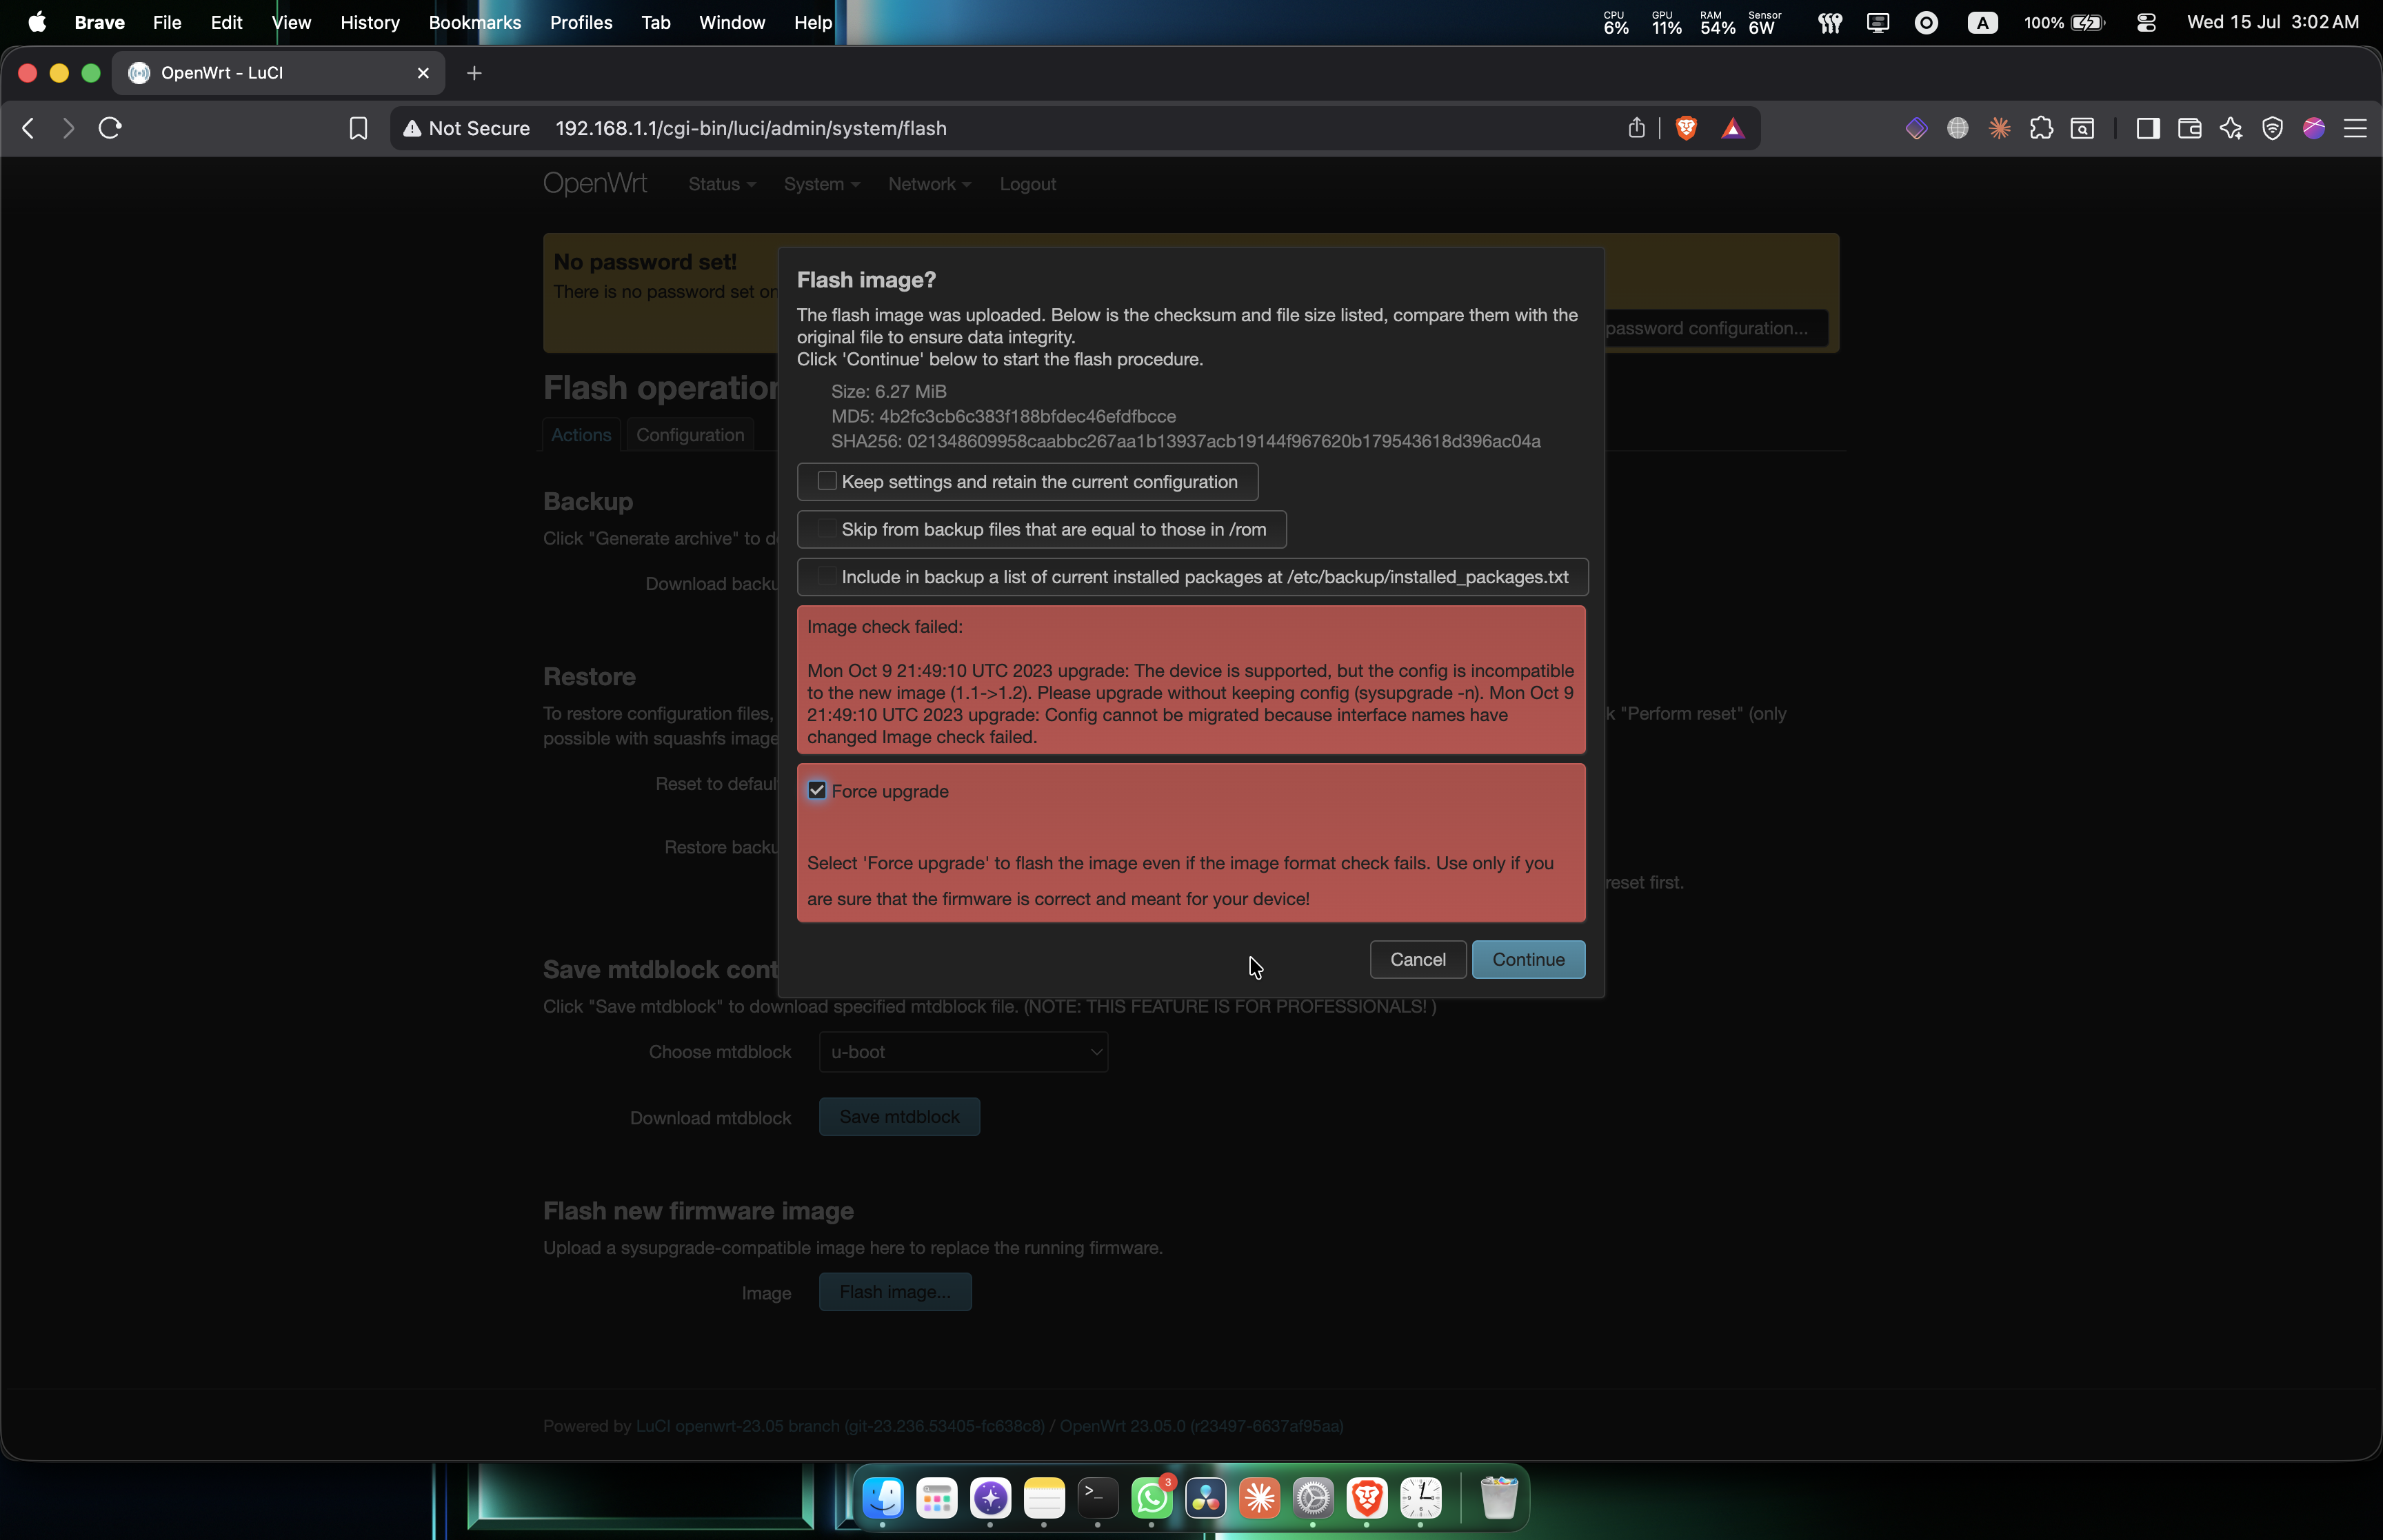
Let it flash and reboot, and don’t power it off while it writes.
That’s the whole process. The router is now on the current OpenWrt.